
Rambo Estrada – Travel & Lifestyle Photography Lightroom Presets
TRAVEL & LIFESTYLE PRESETS
Lightroom editing solutions
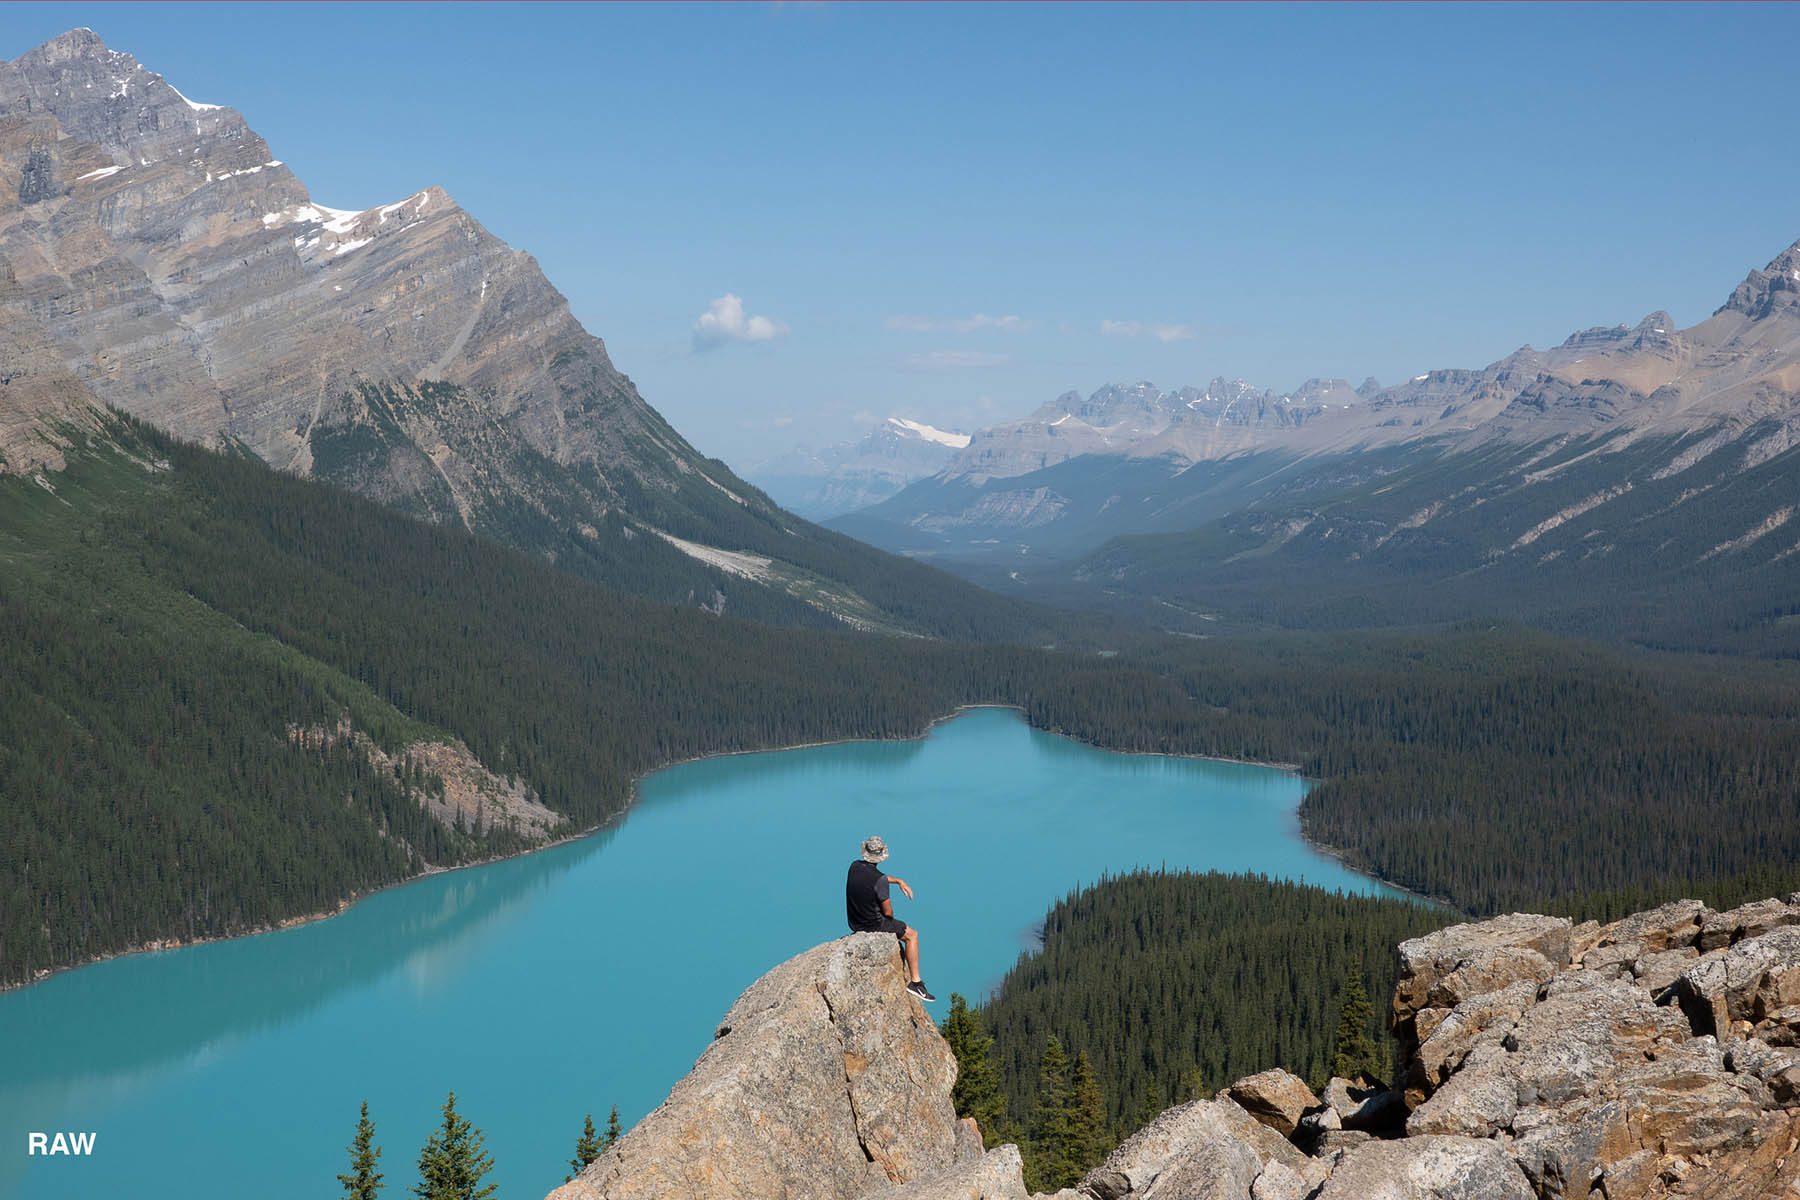
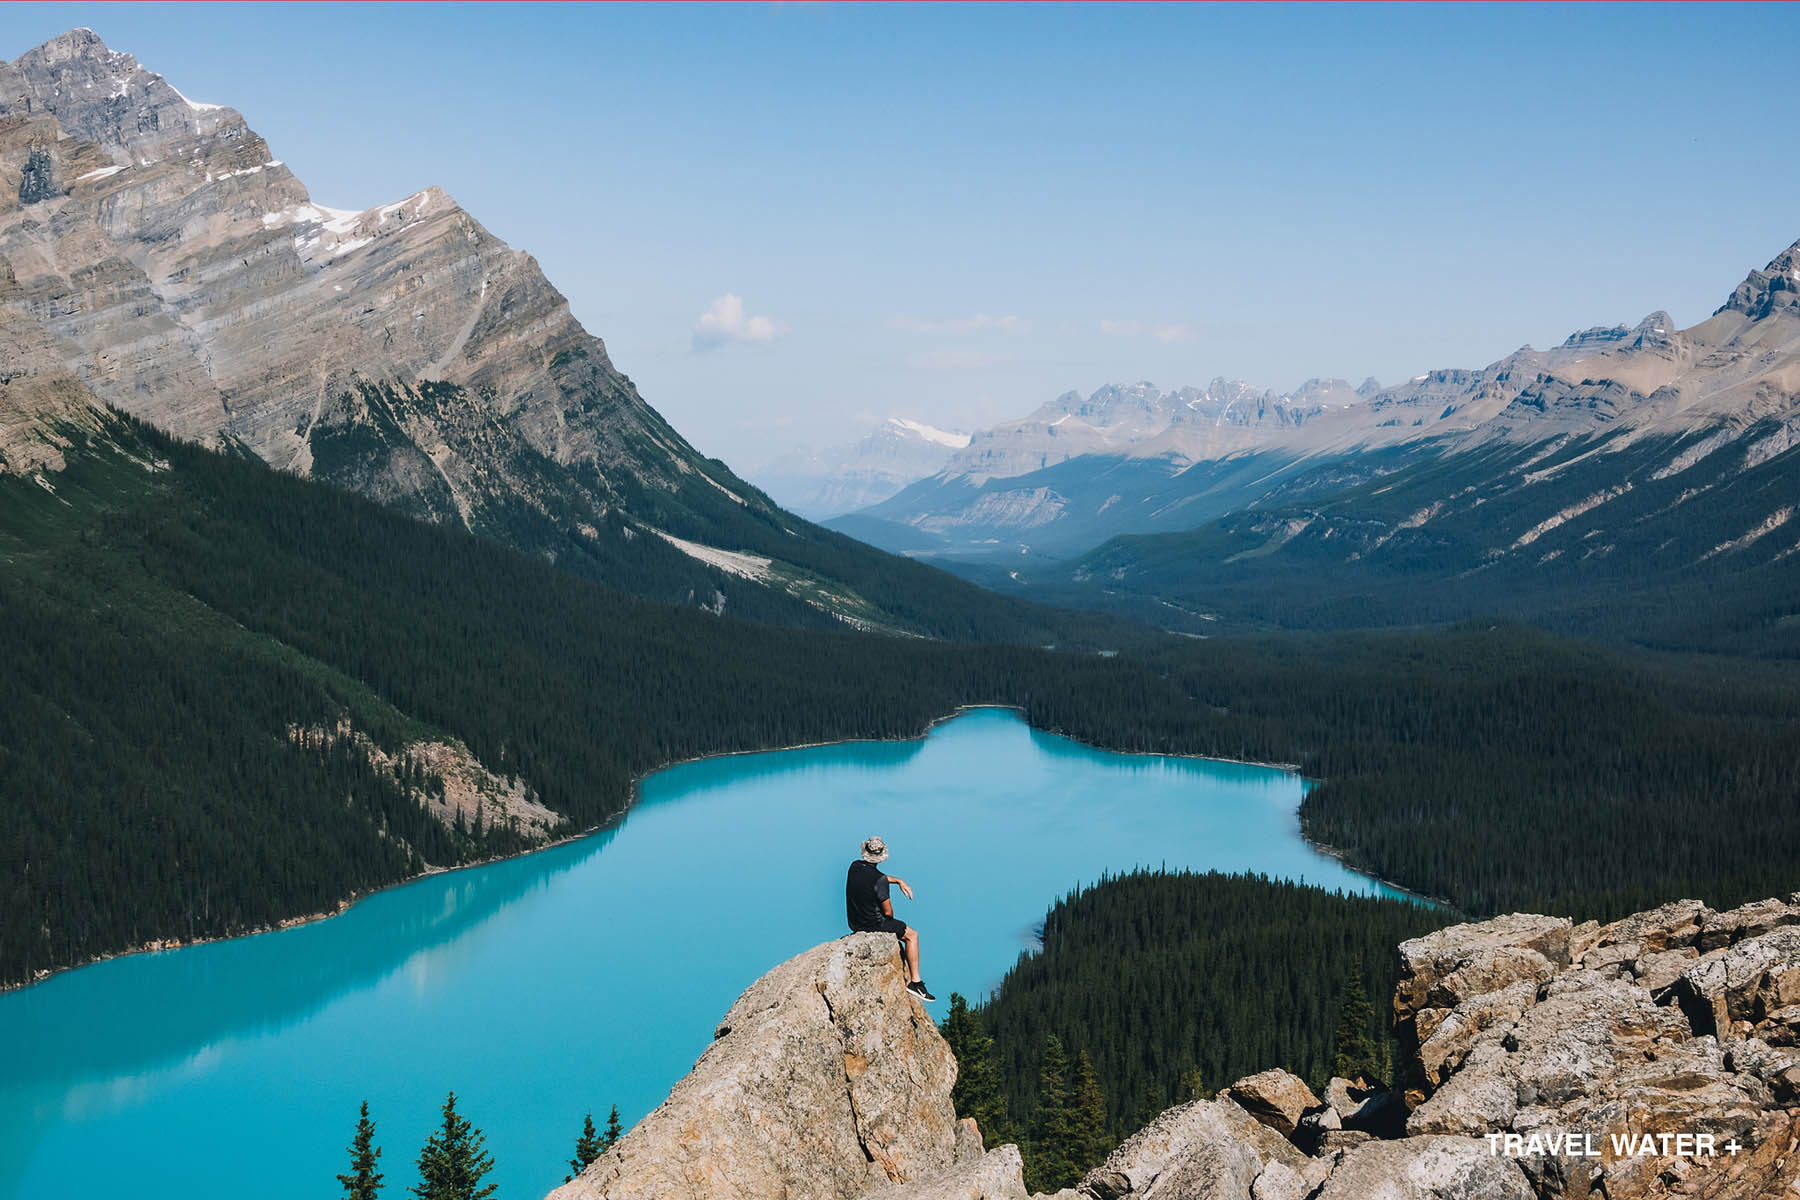
Below are before/after examples of my current Travel & Lifestyle Lightroom presets which are available for purchase as either a Lightroom Desktop set or a Lightroom Mobile set. These are what I use as a starting point for my Travel & Lifestyle edits. Generally after applying the preset I will manually adjust exposure and white balance to finish the image. The presets will work consistently well on images shot with any brand of camera.

[ DESKTOP LIGHTROOM PRESETS ]

[ MOBILE LIGHTROOM PRESETS ]
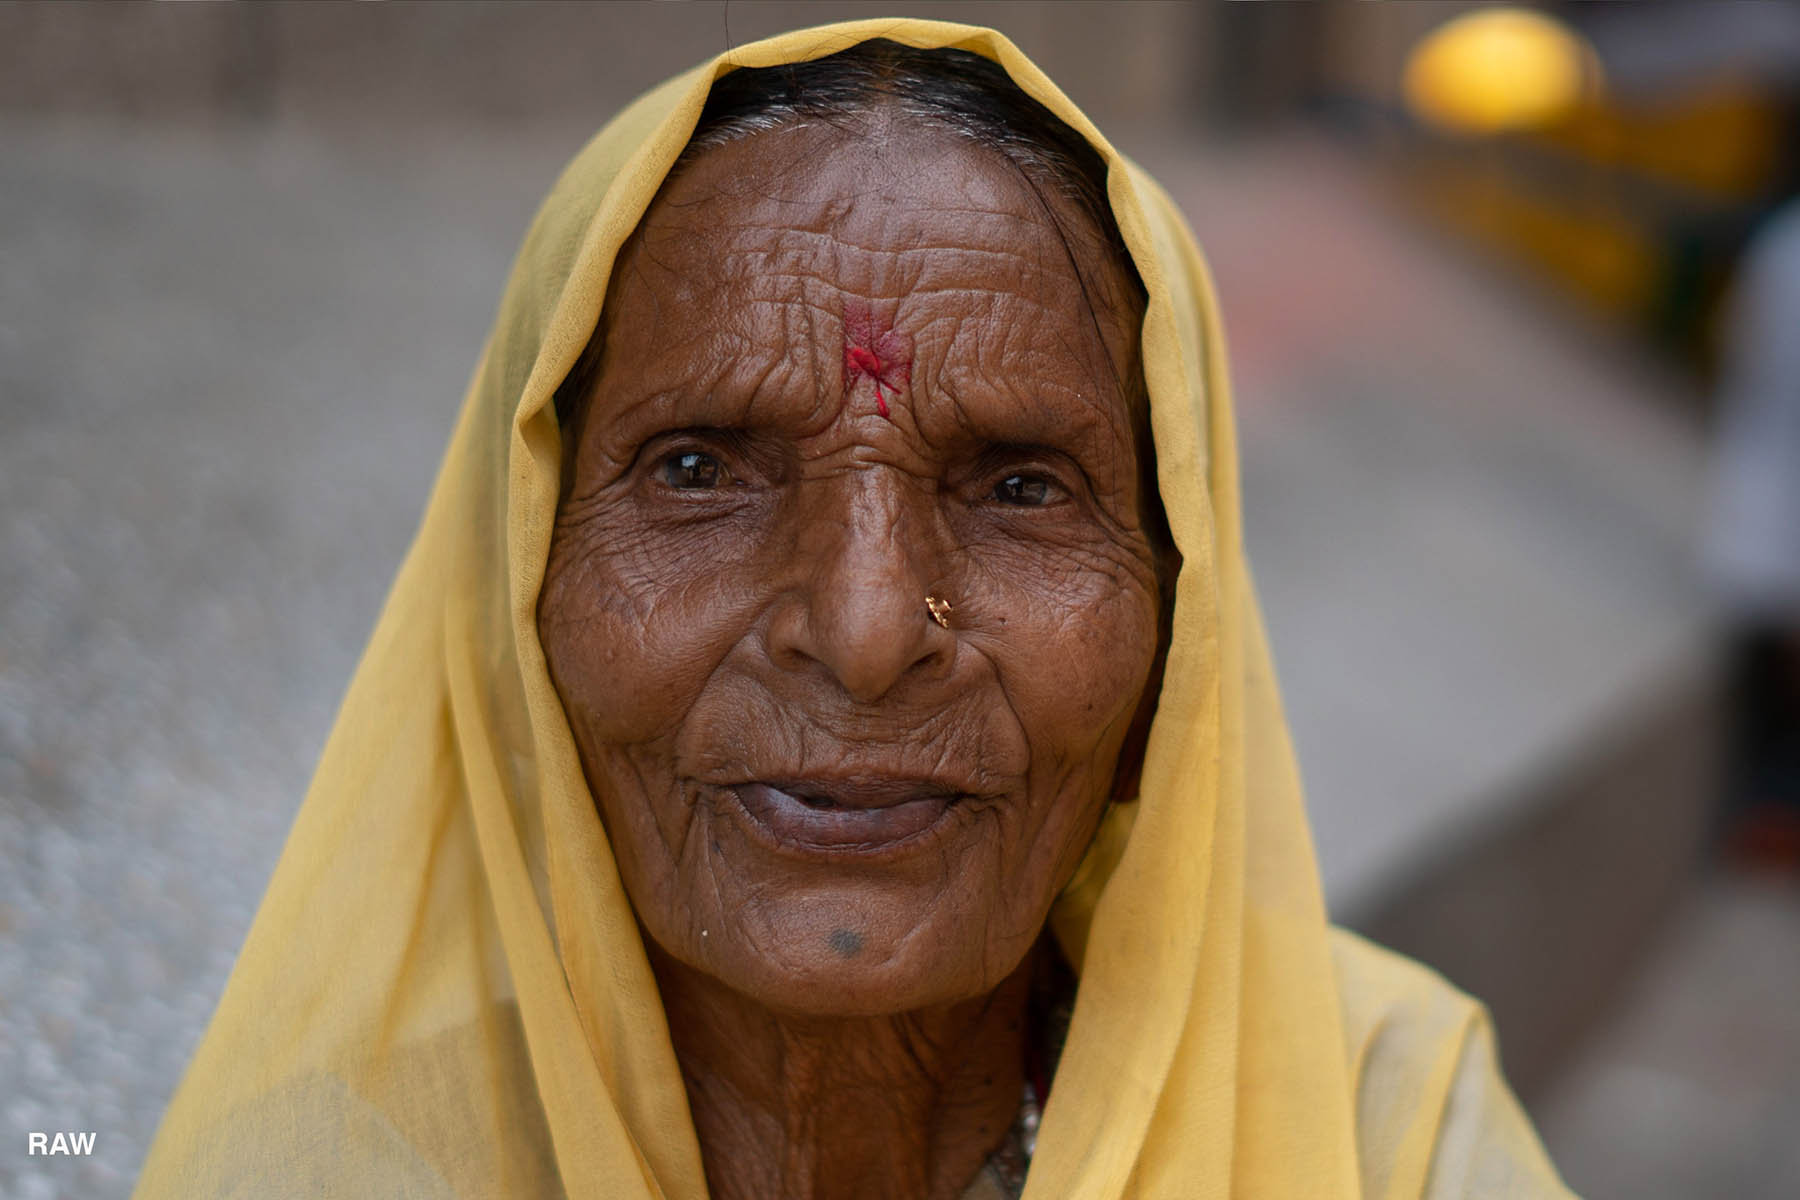
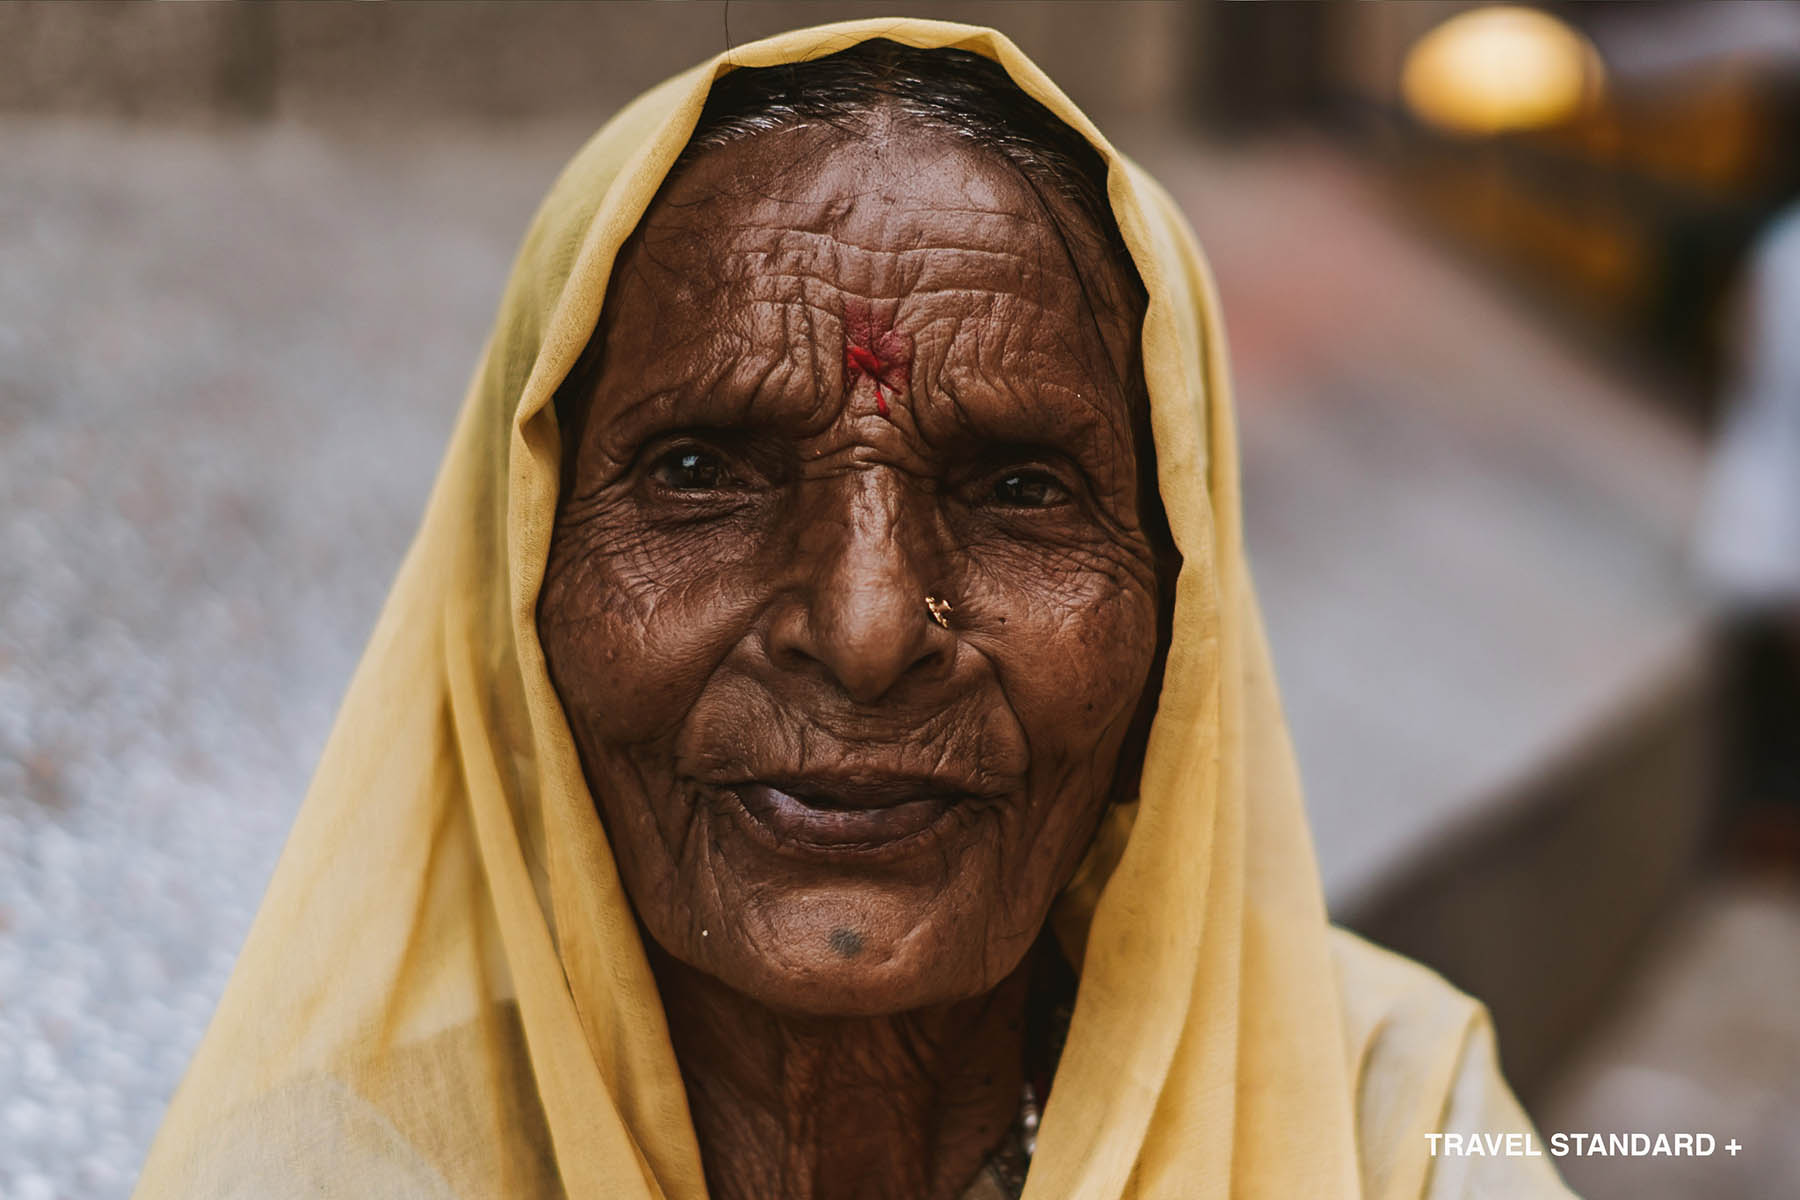
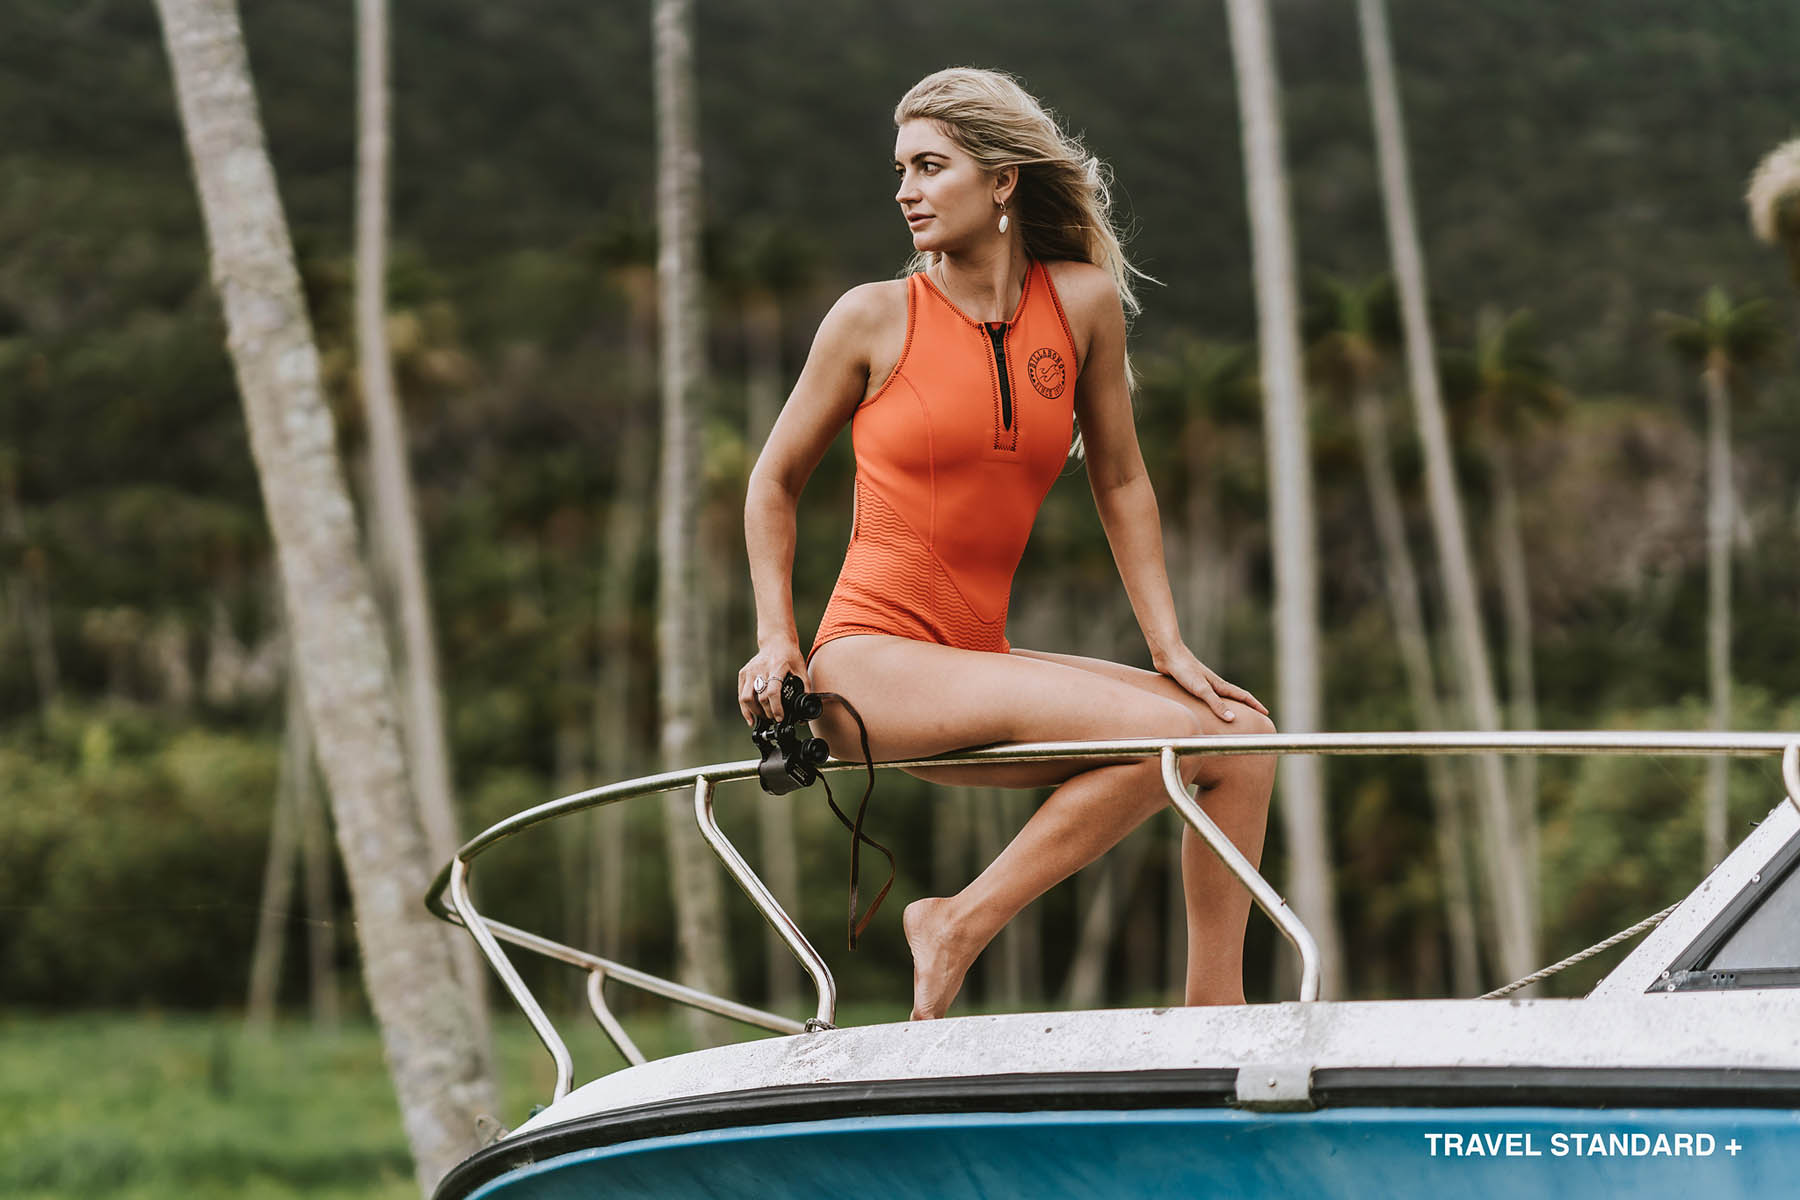
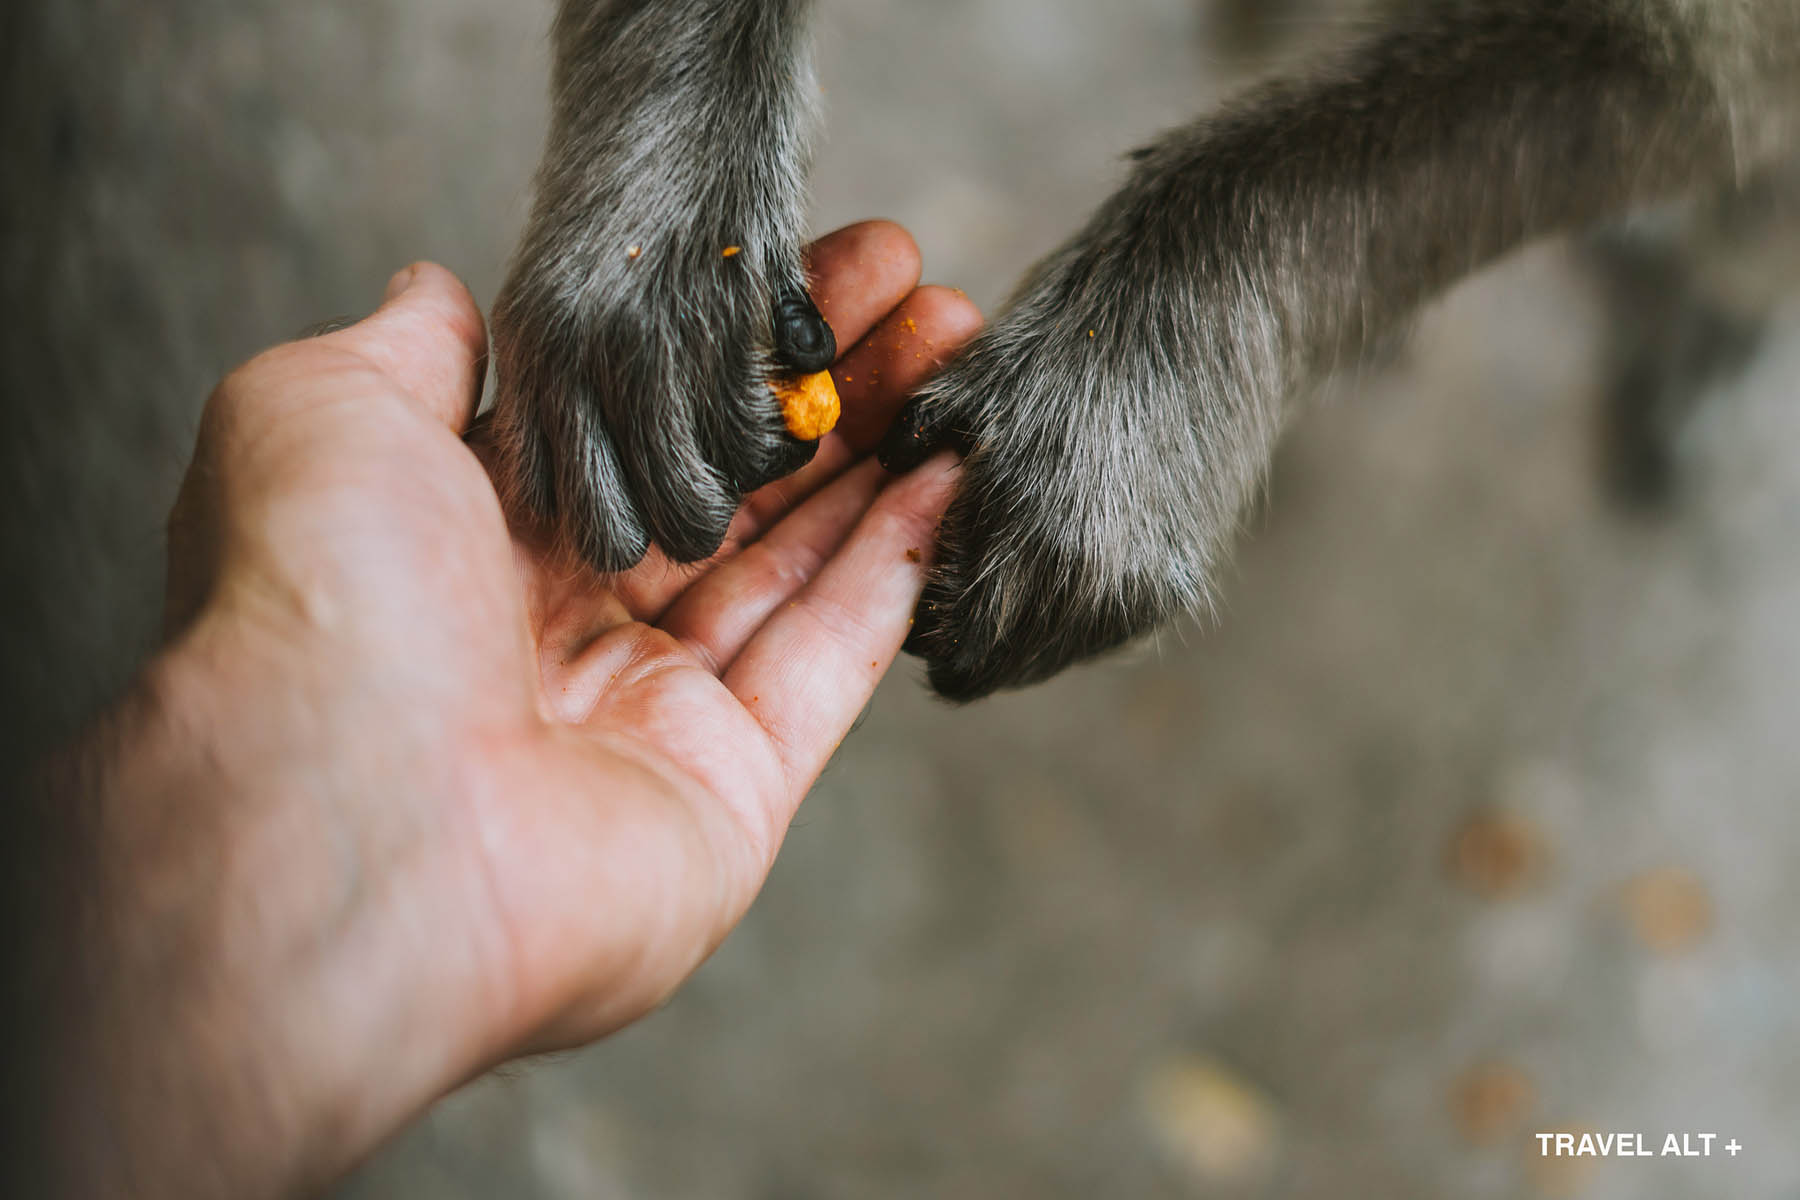
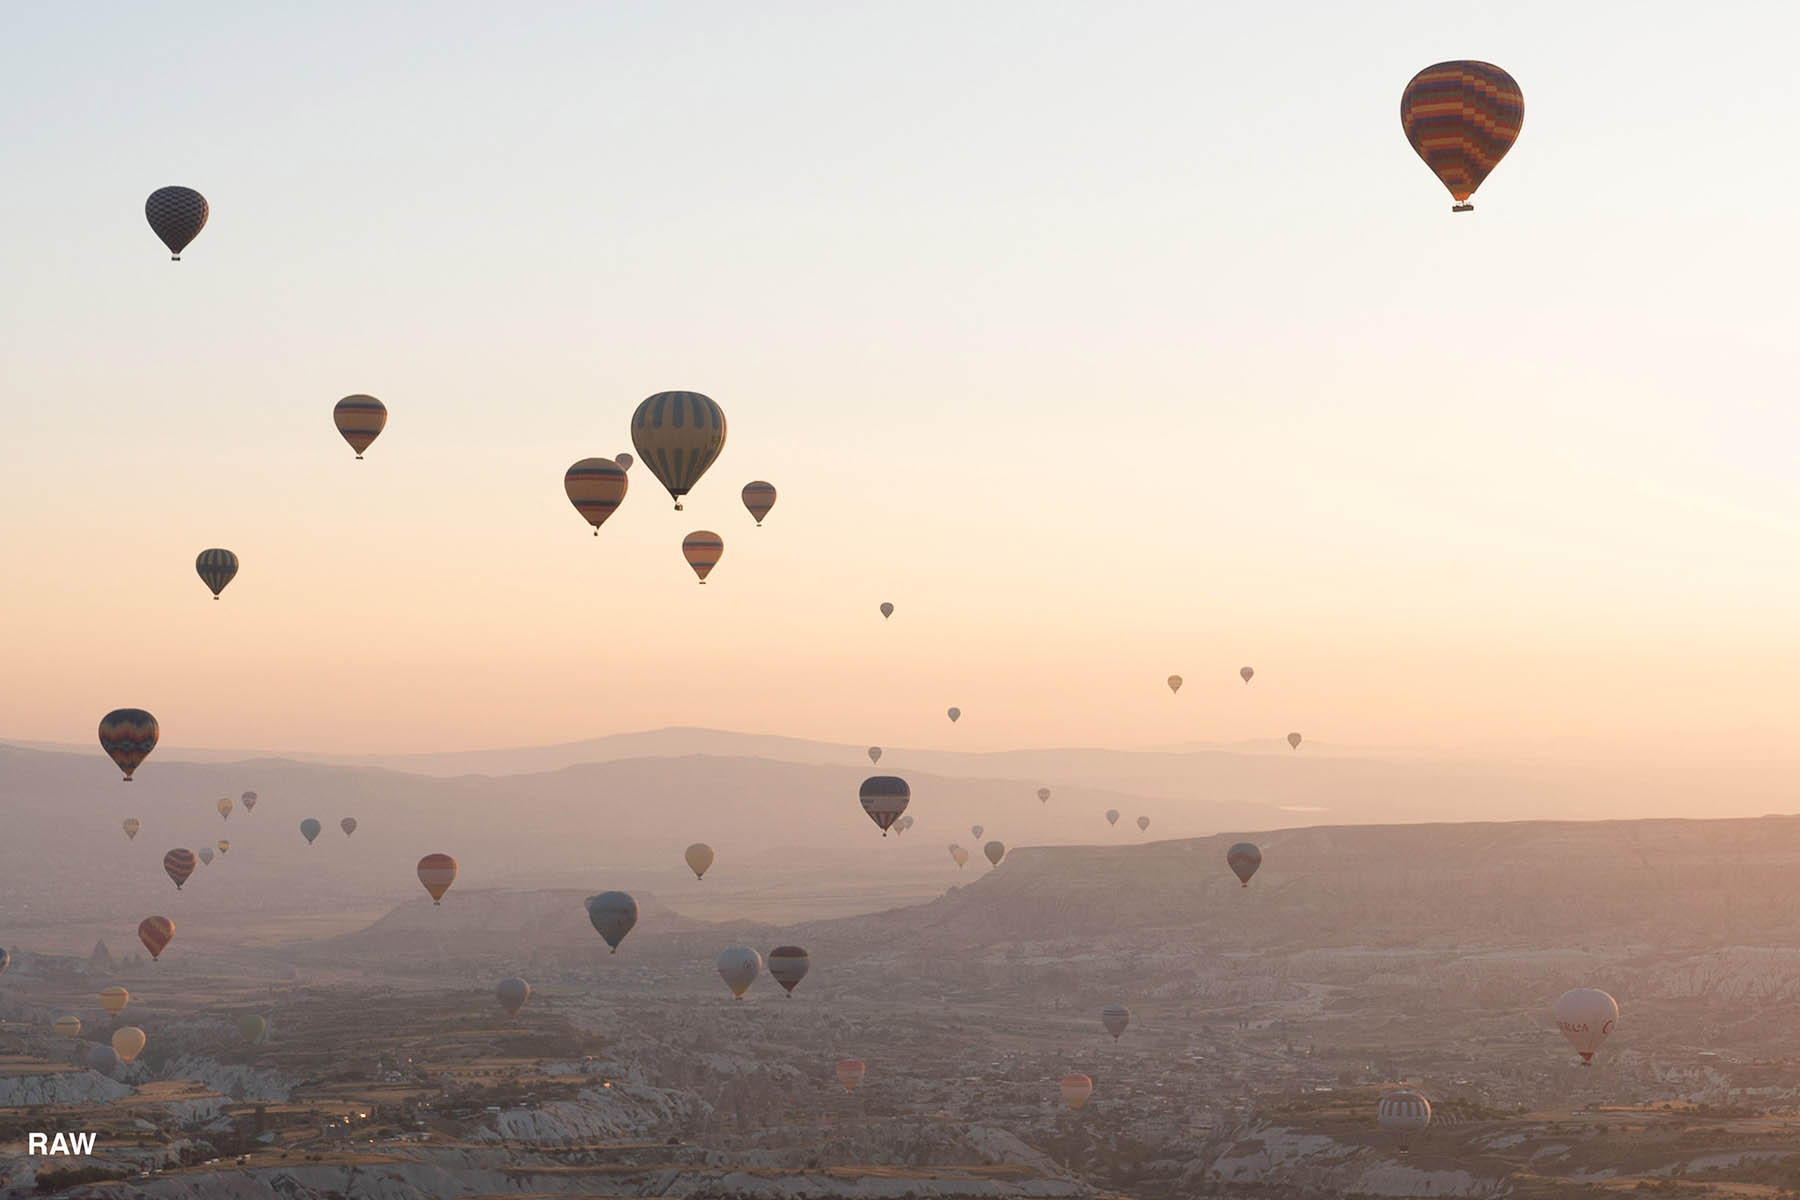
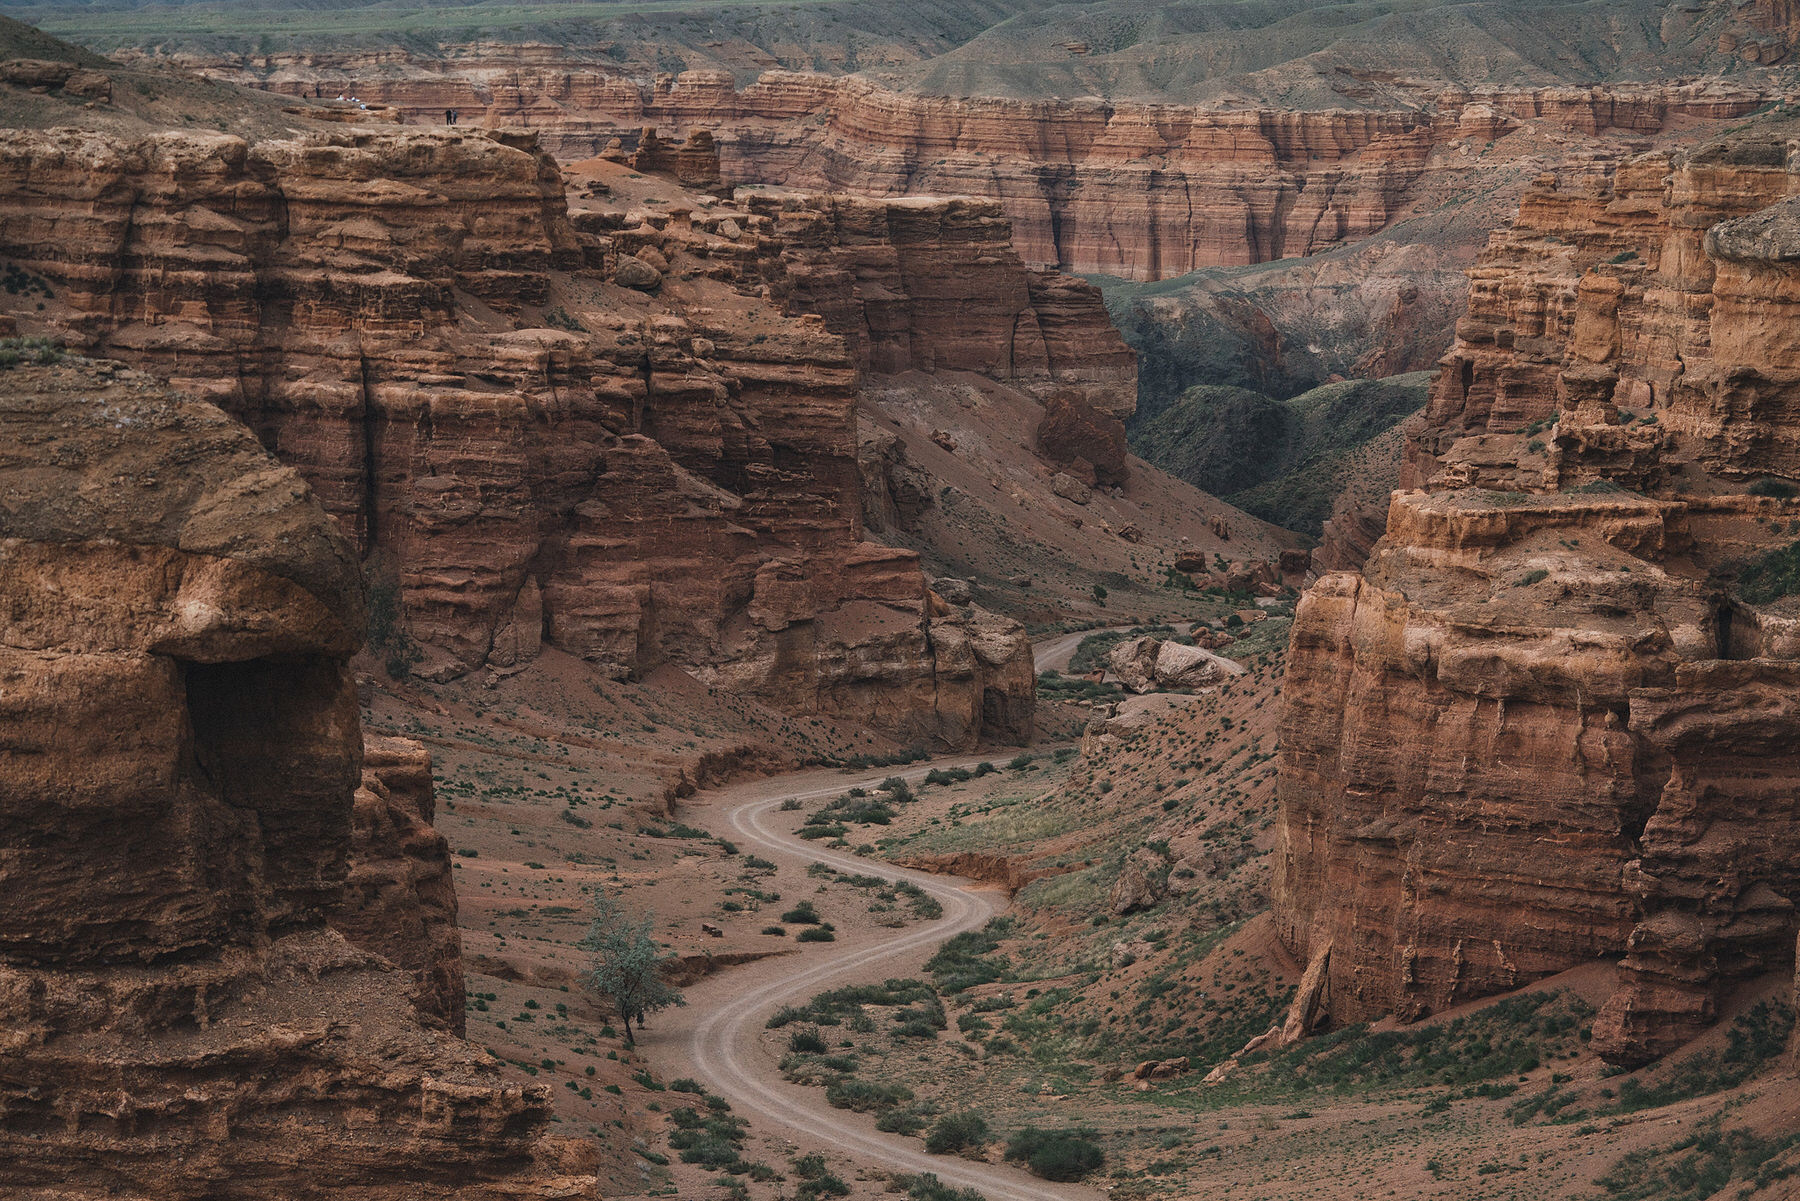
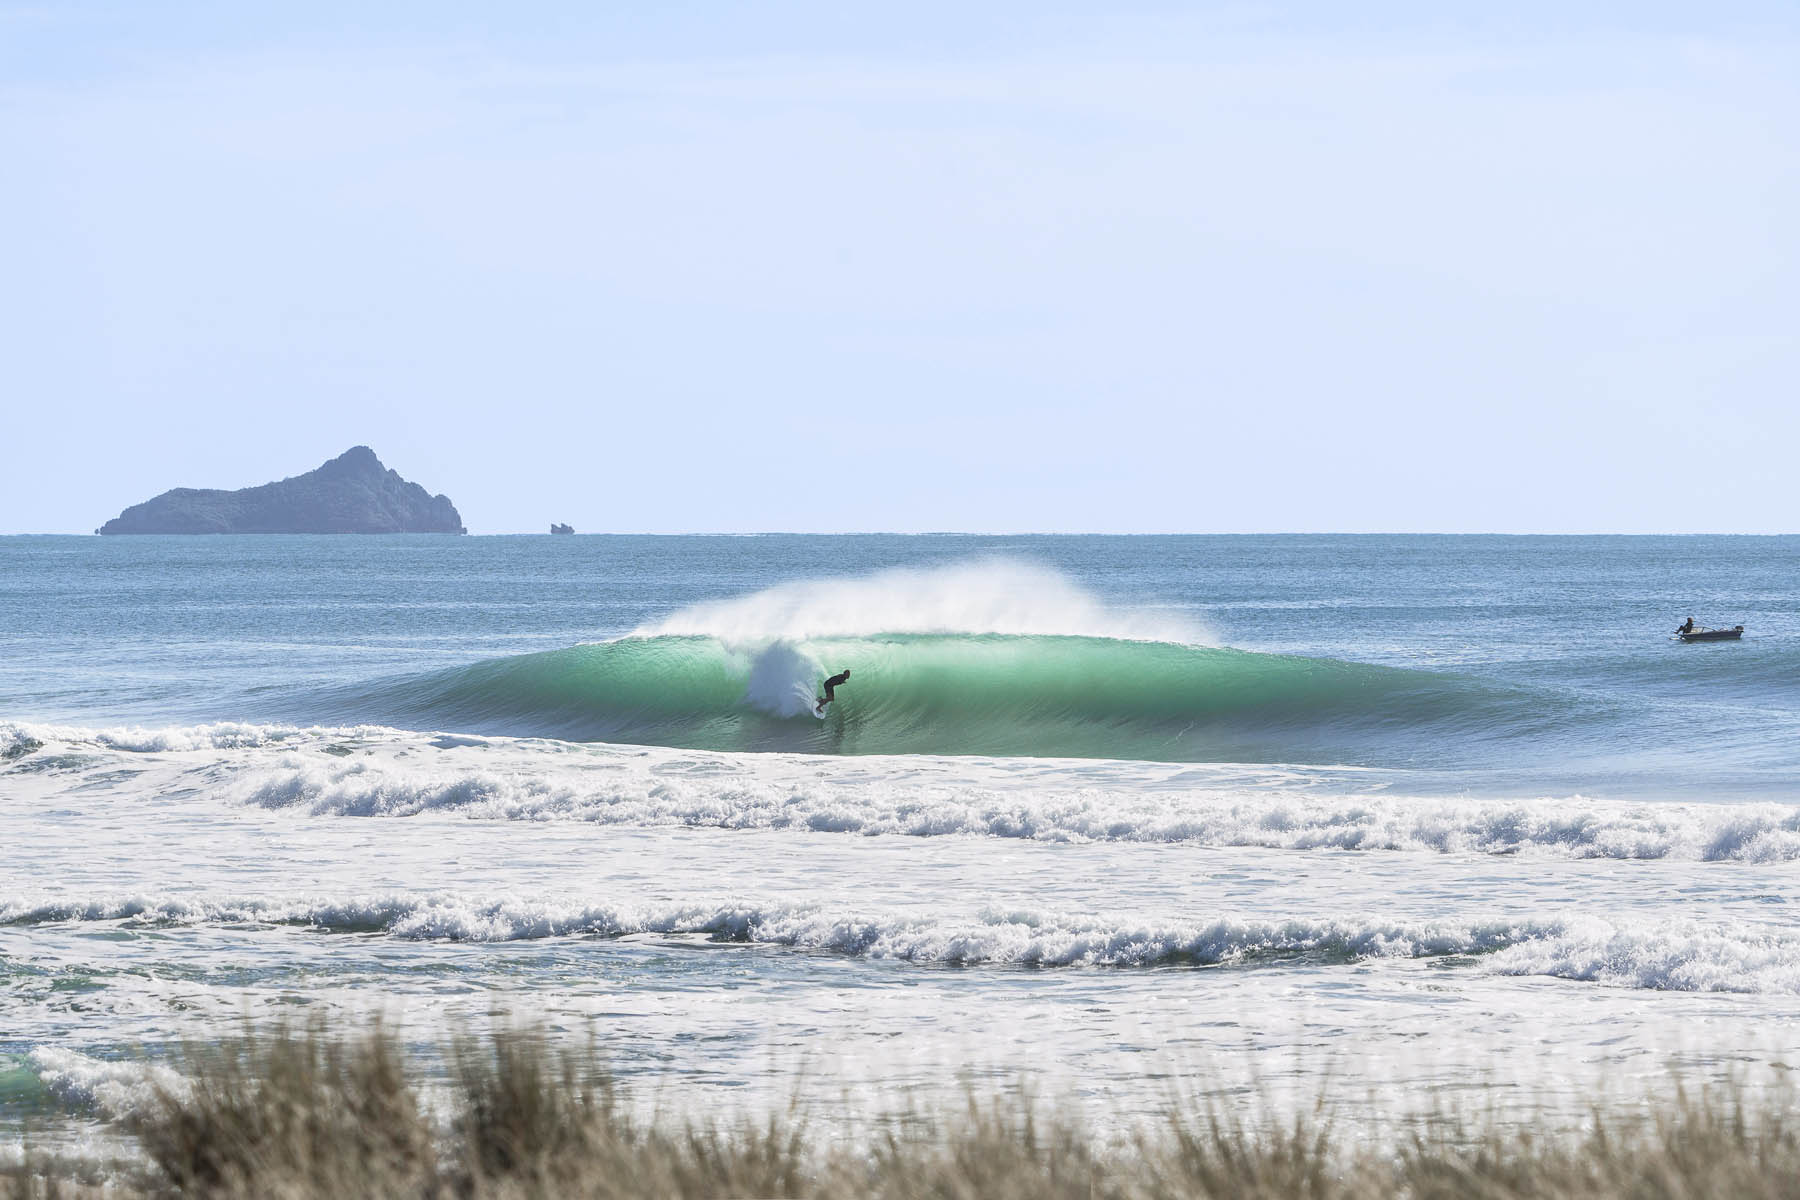
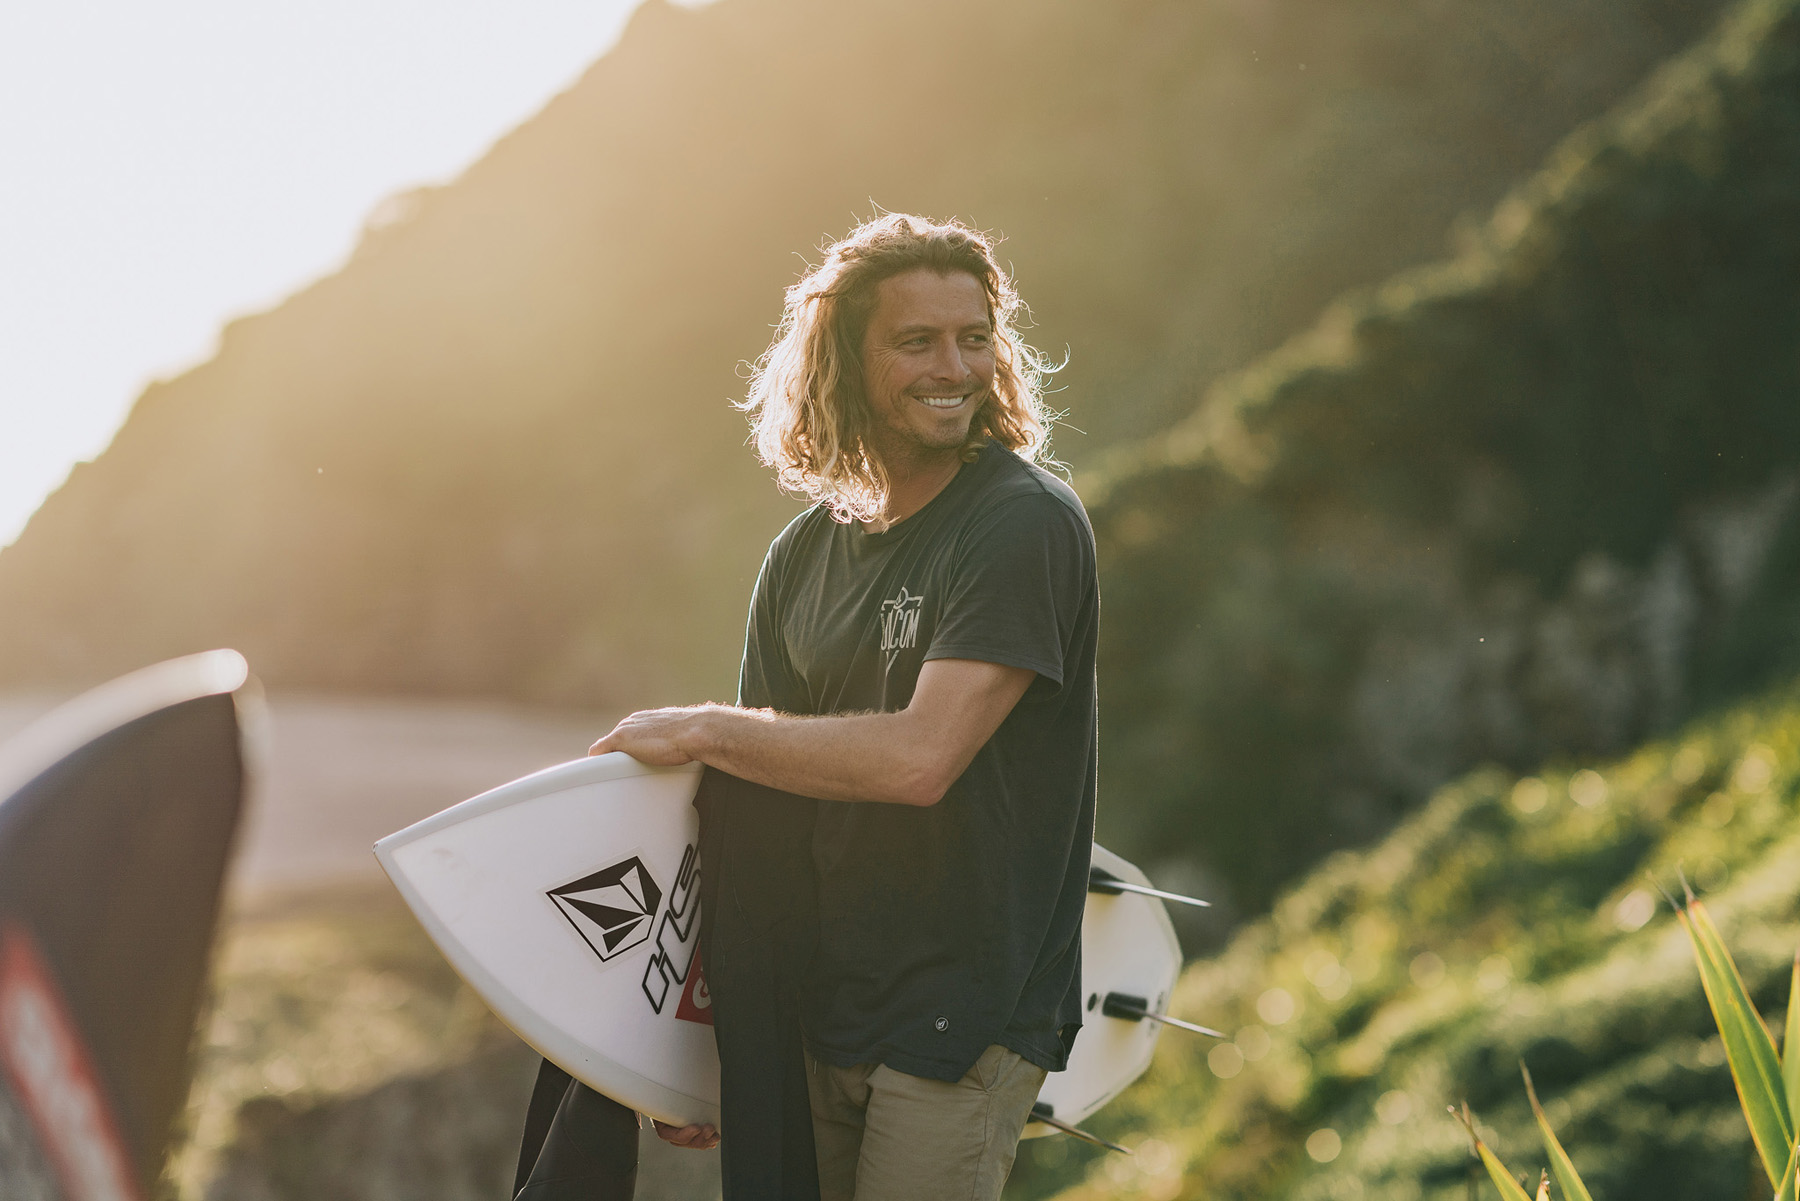
TRAVEL & LIFESTYLE – PRESET
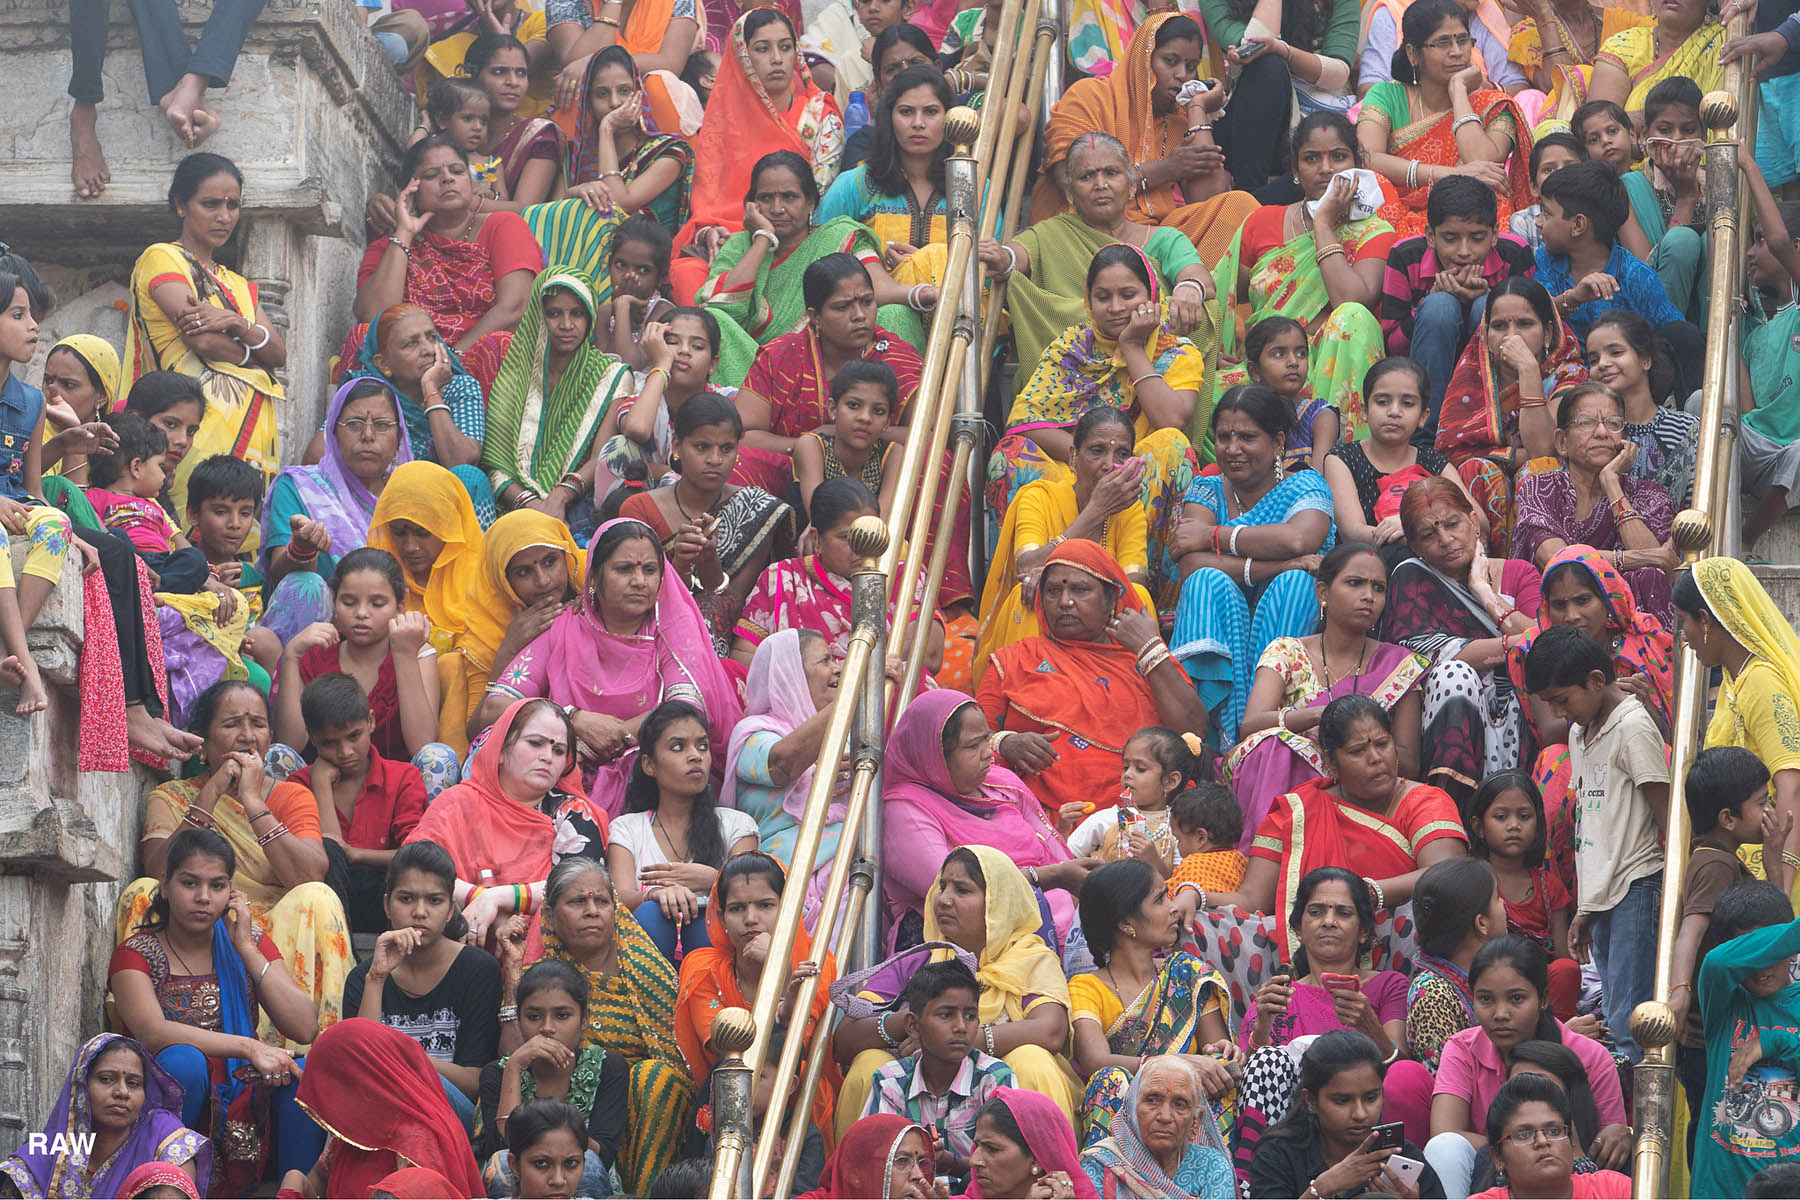
Drag the slider side to side to see before and after. There are different intensity versions of this preset for editing versatility. I’ve also included another alternate variant with different intensity versions.
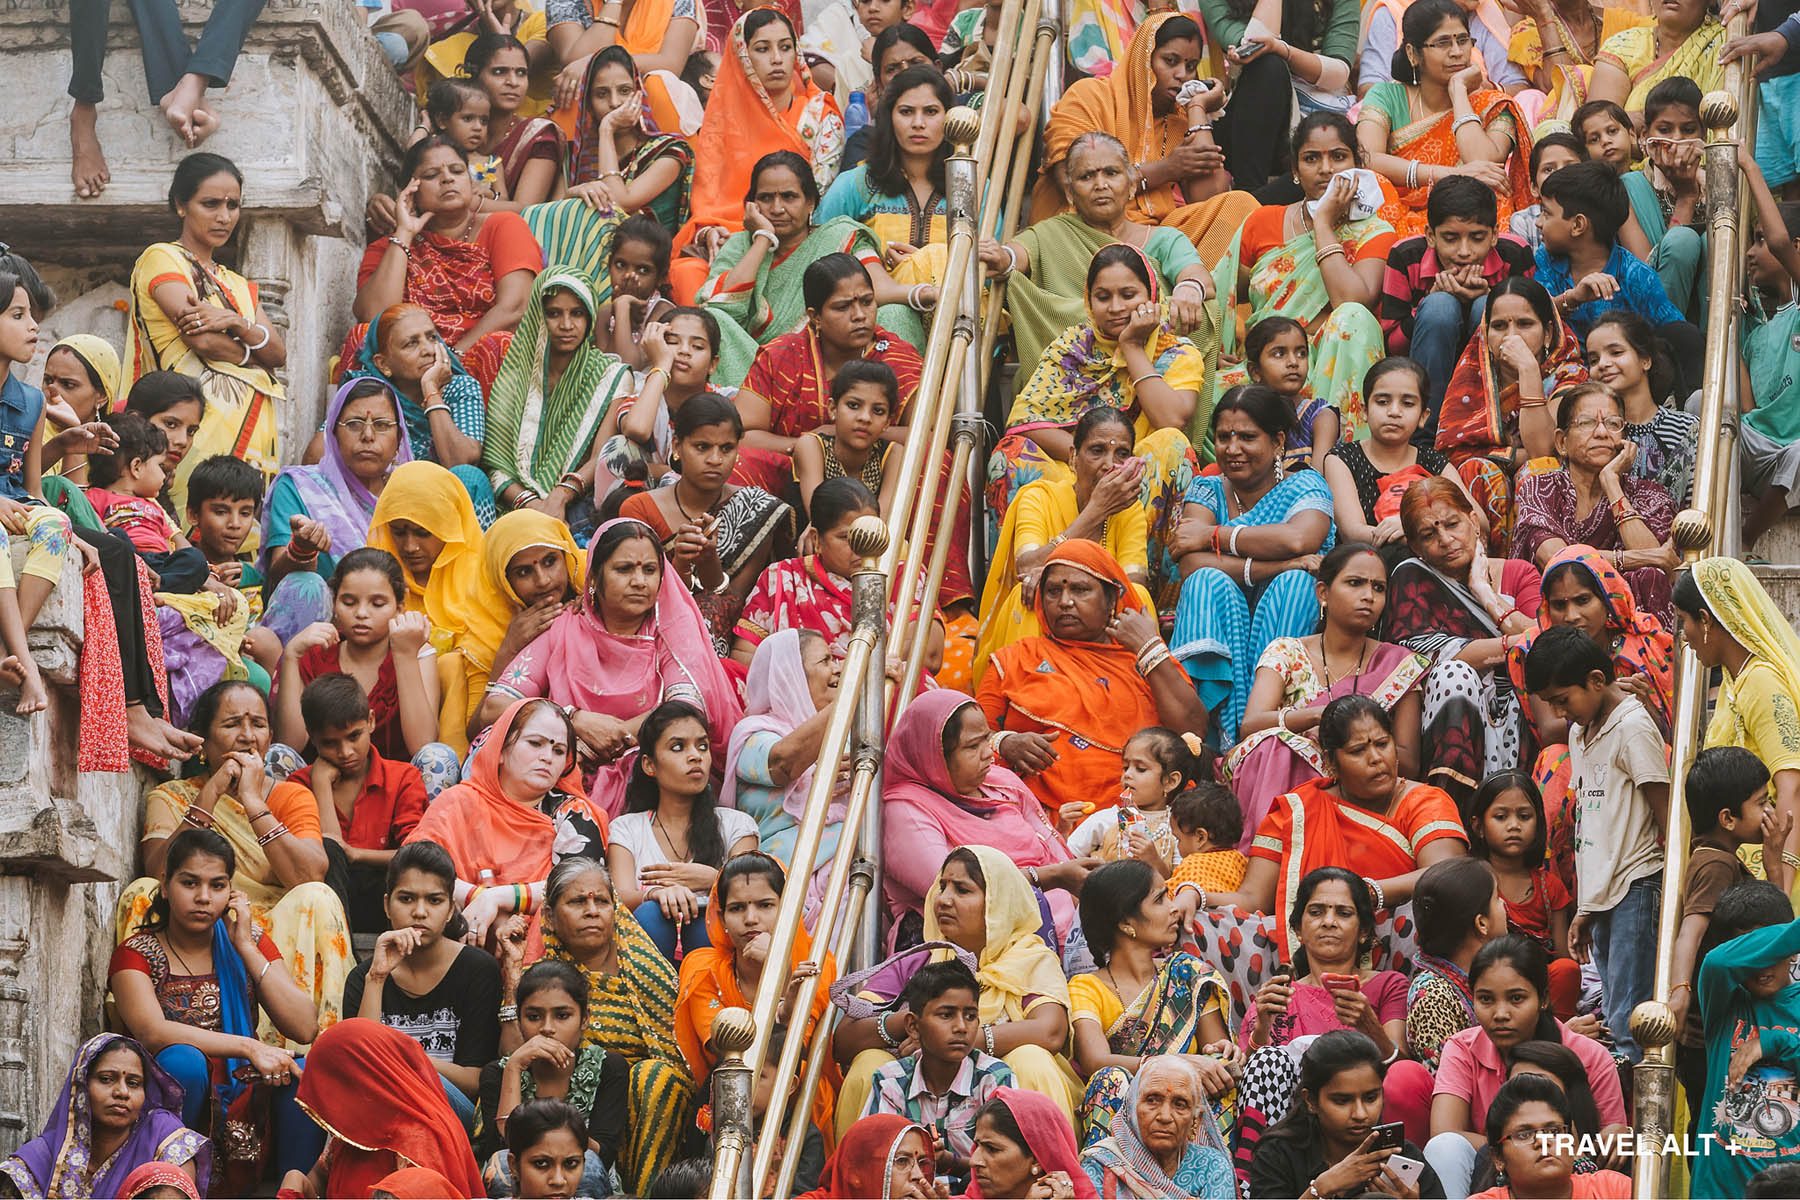
Alternate variation “Travel Alt” shown below. Different intensity versions included.
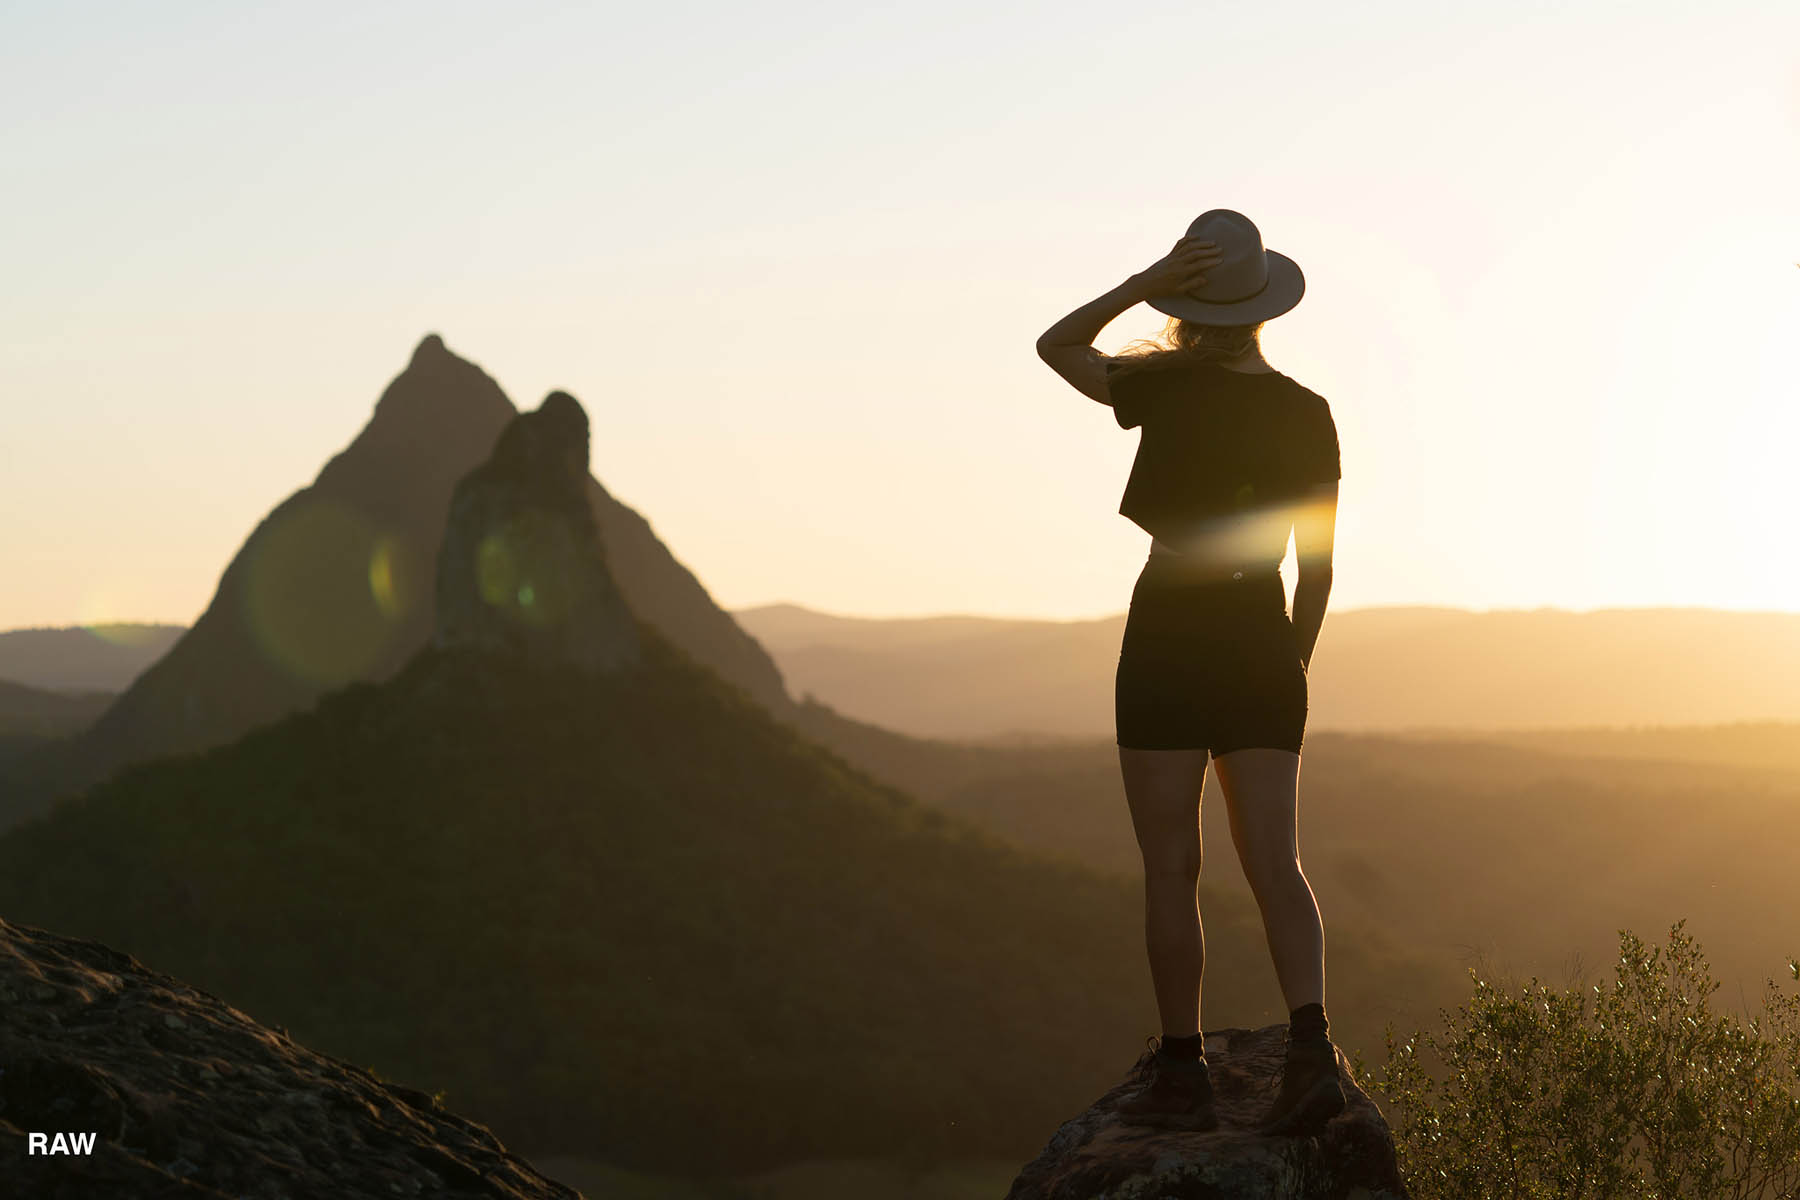
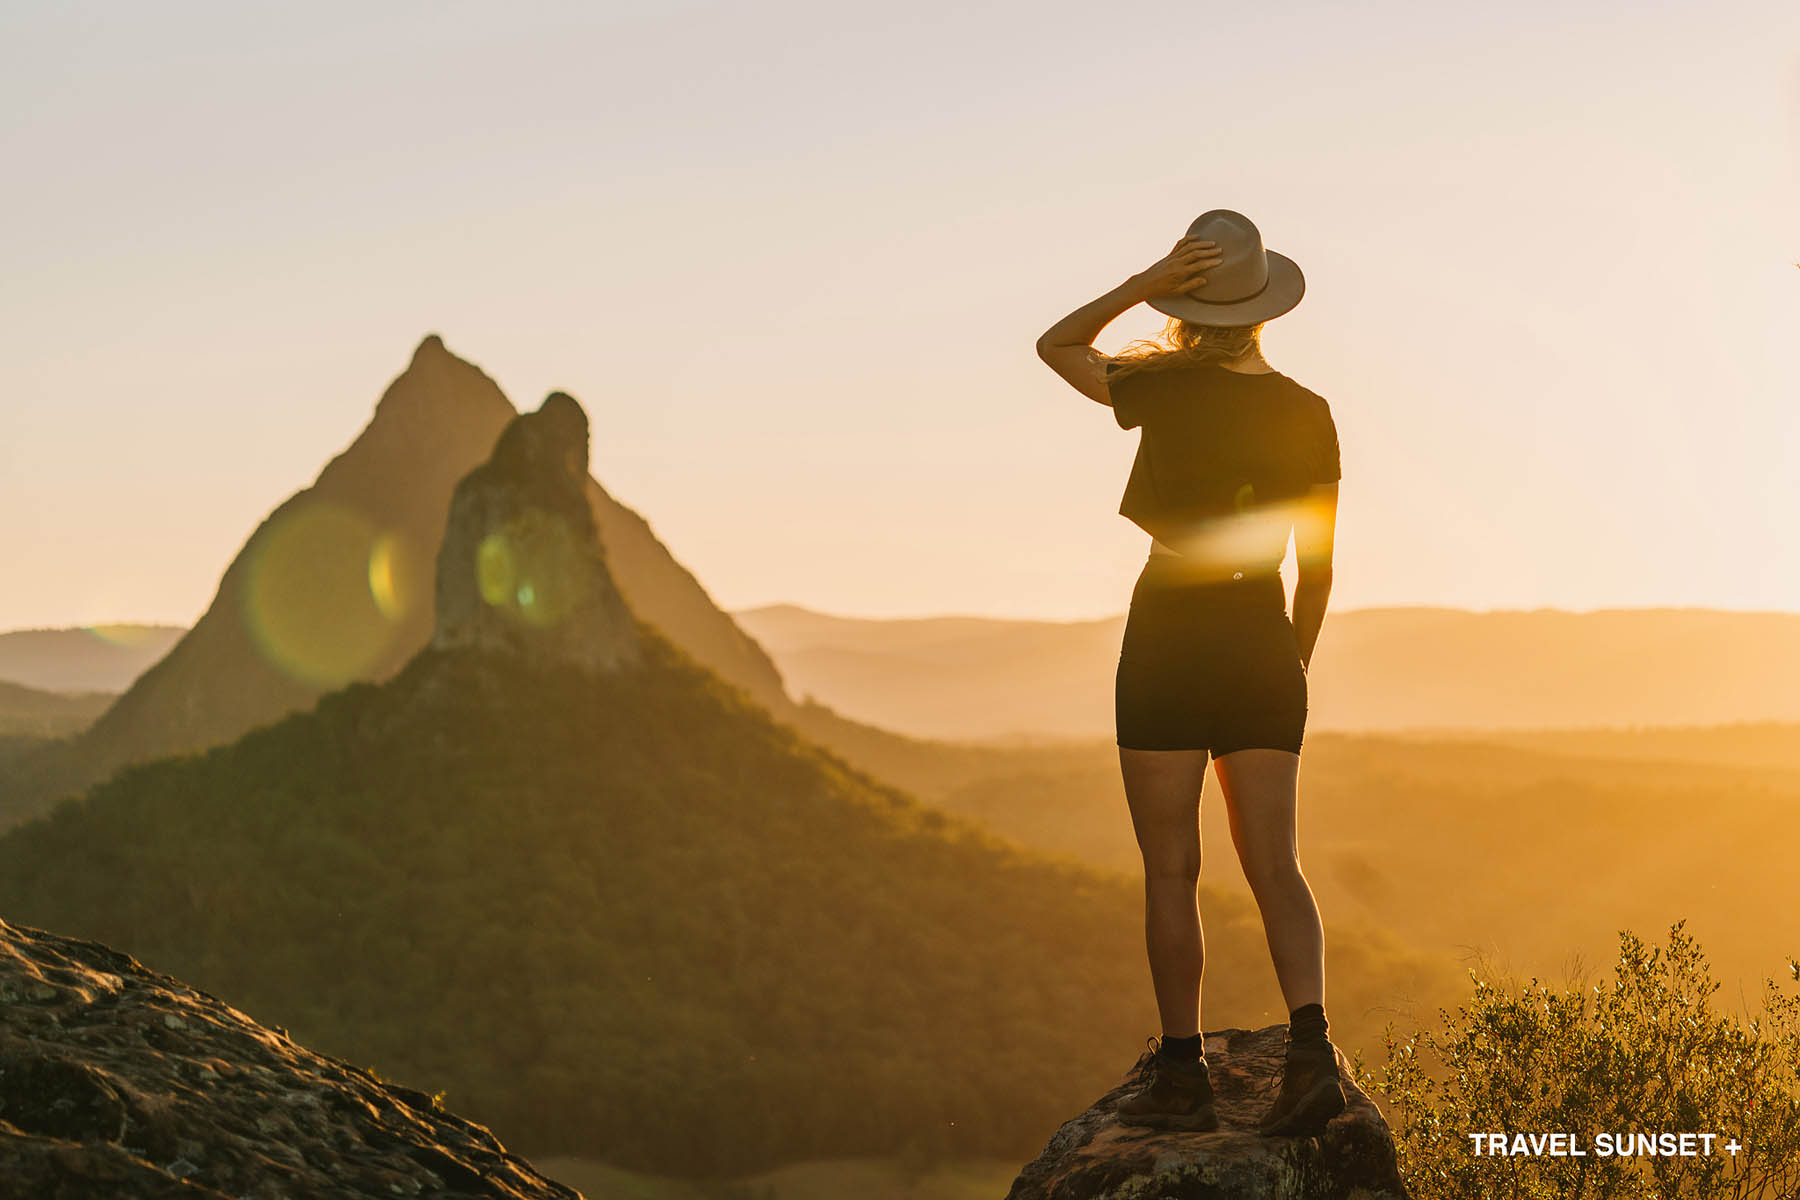
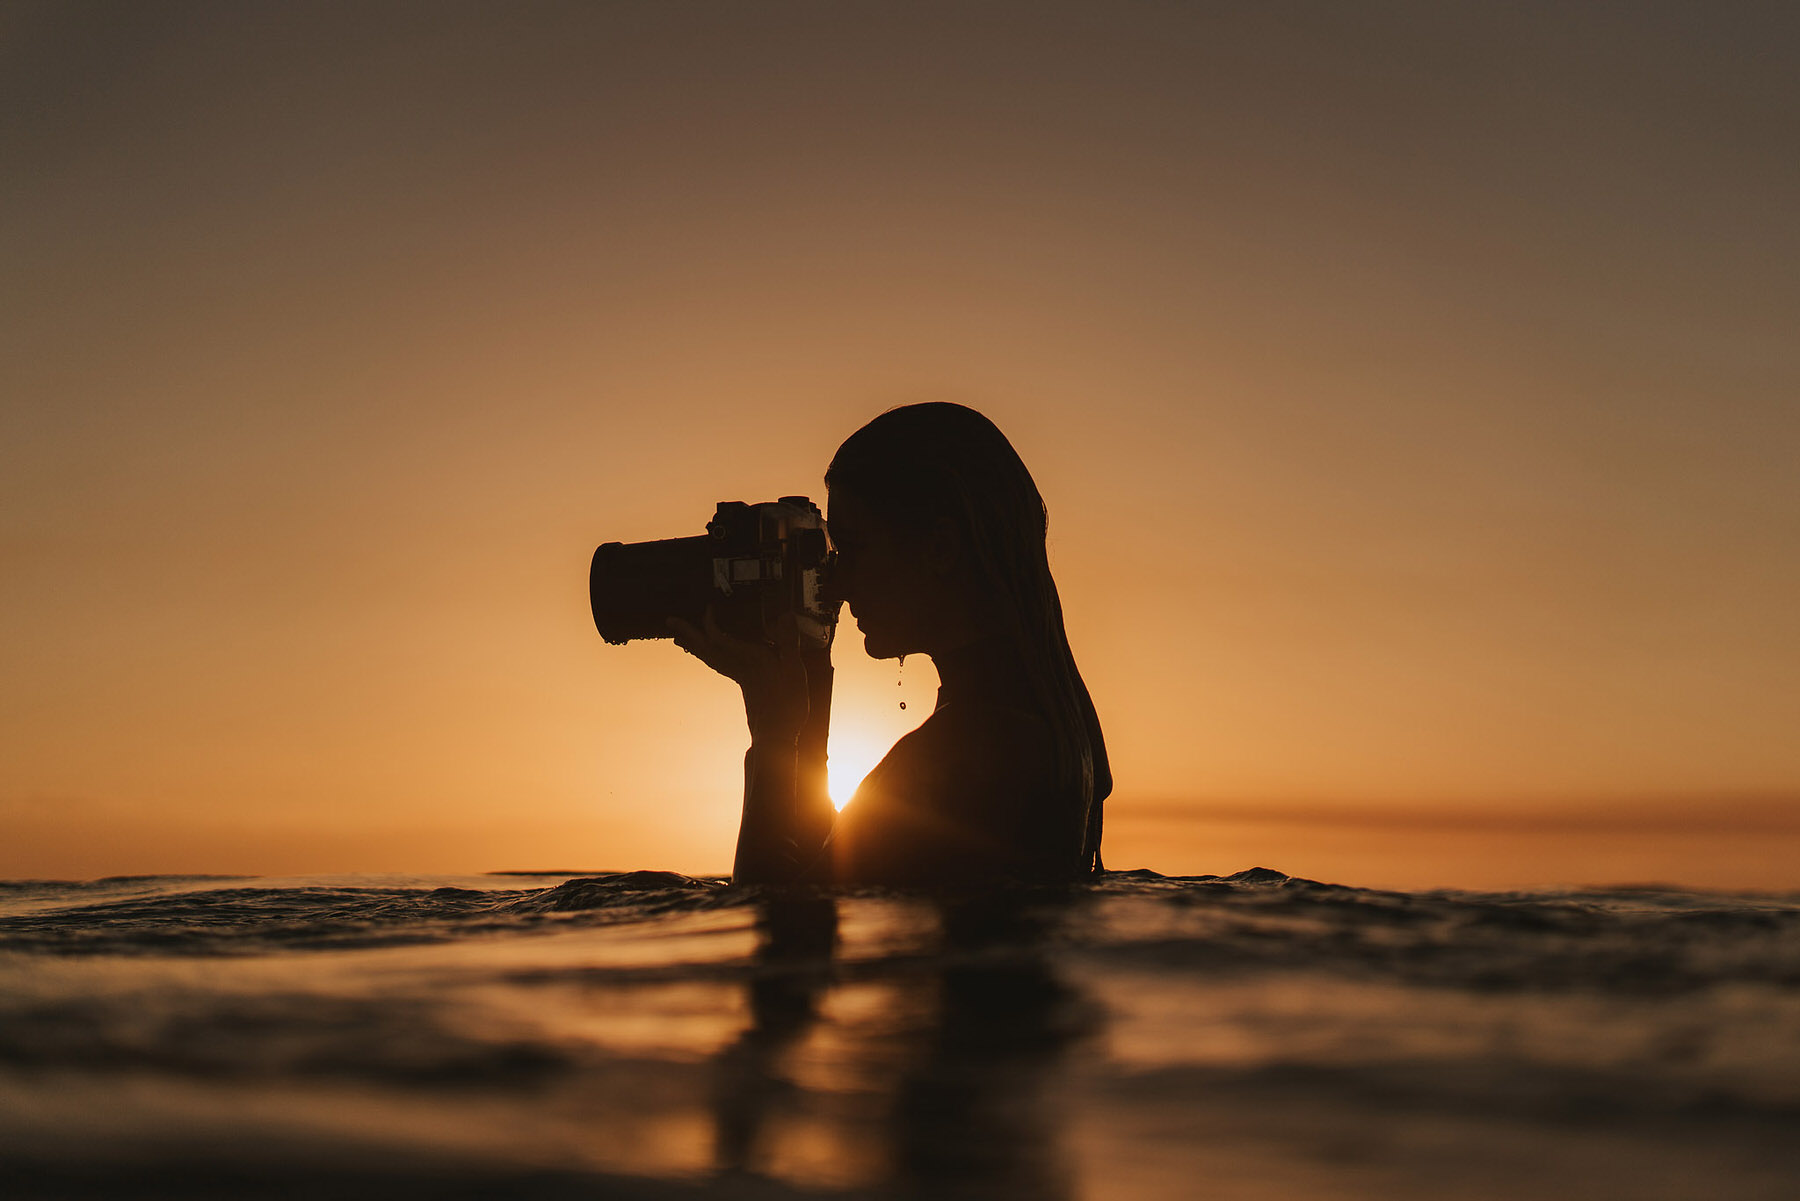
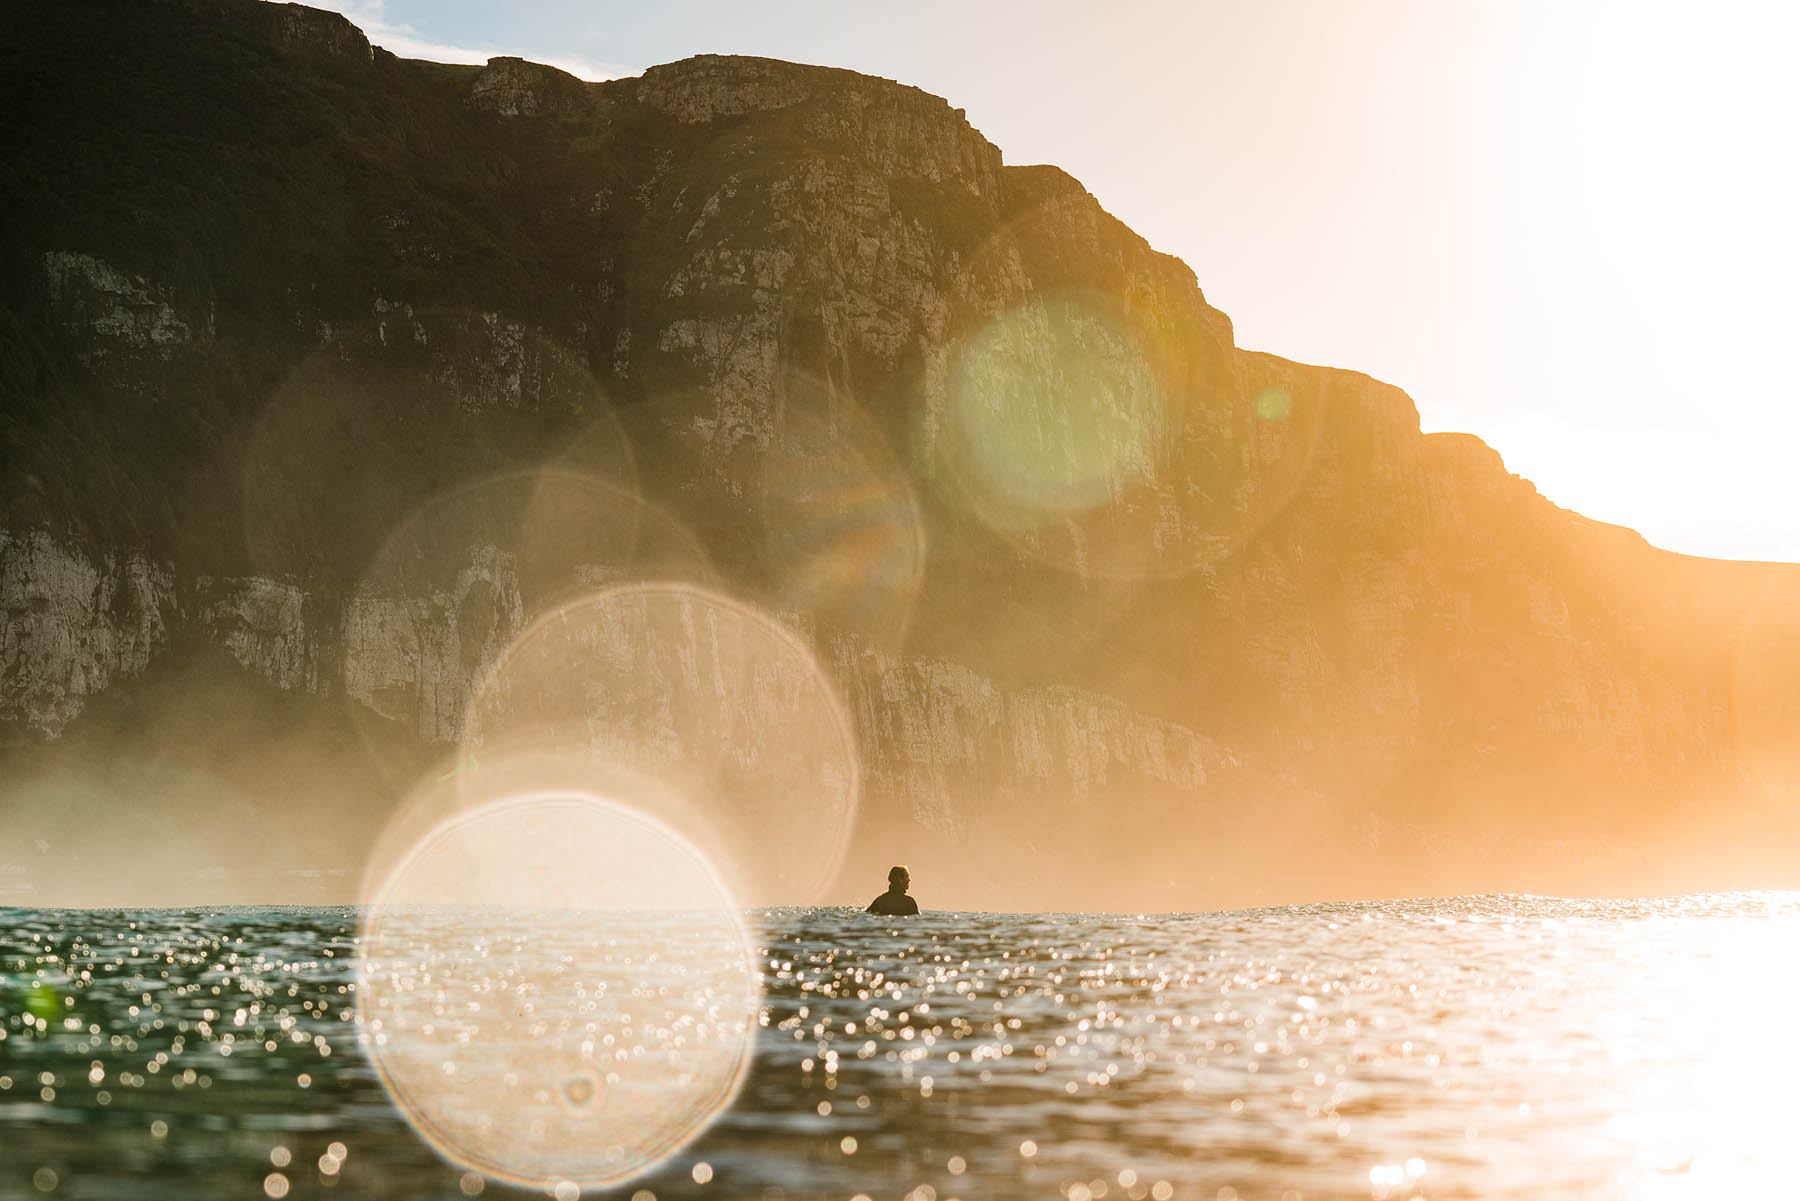
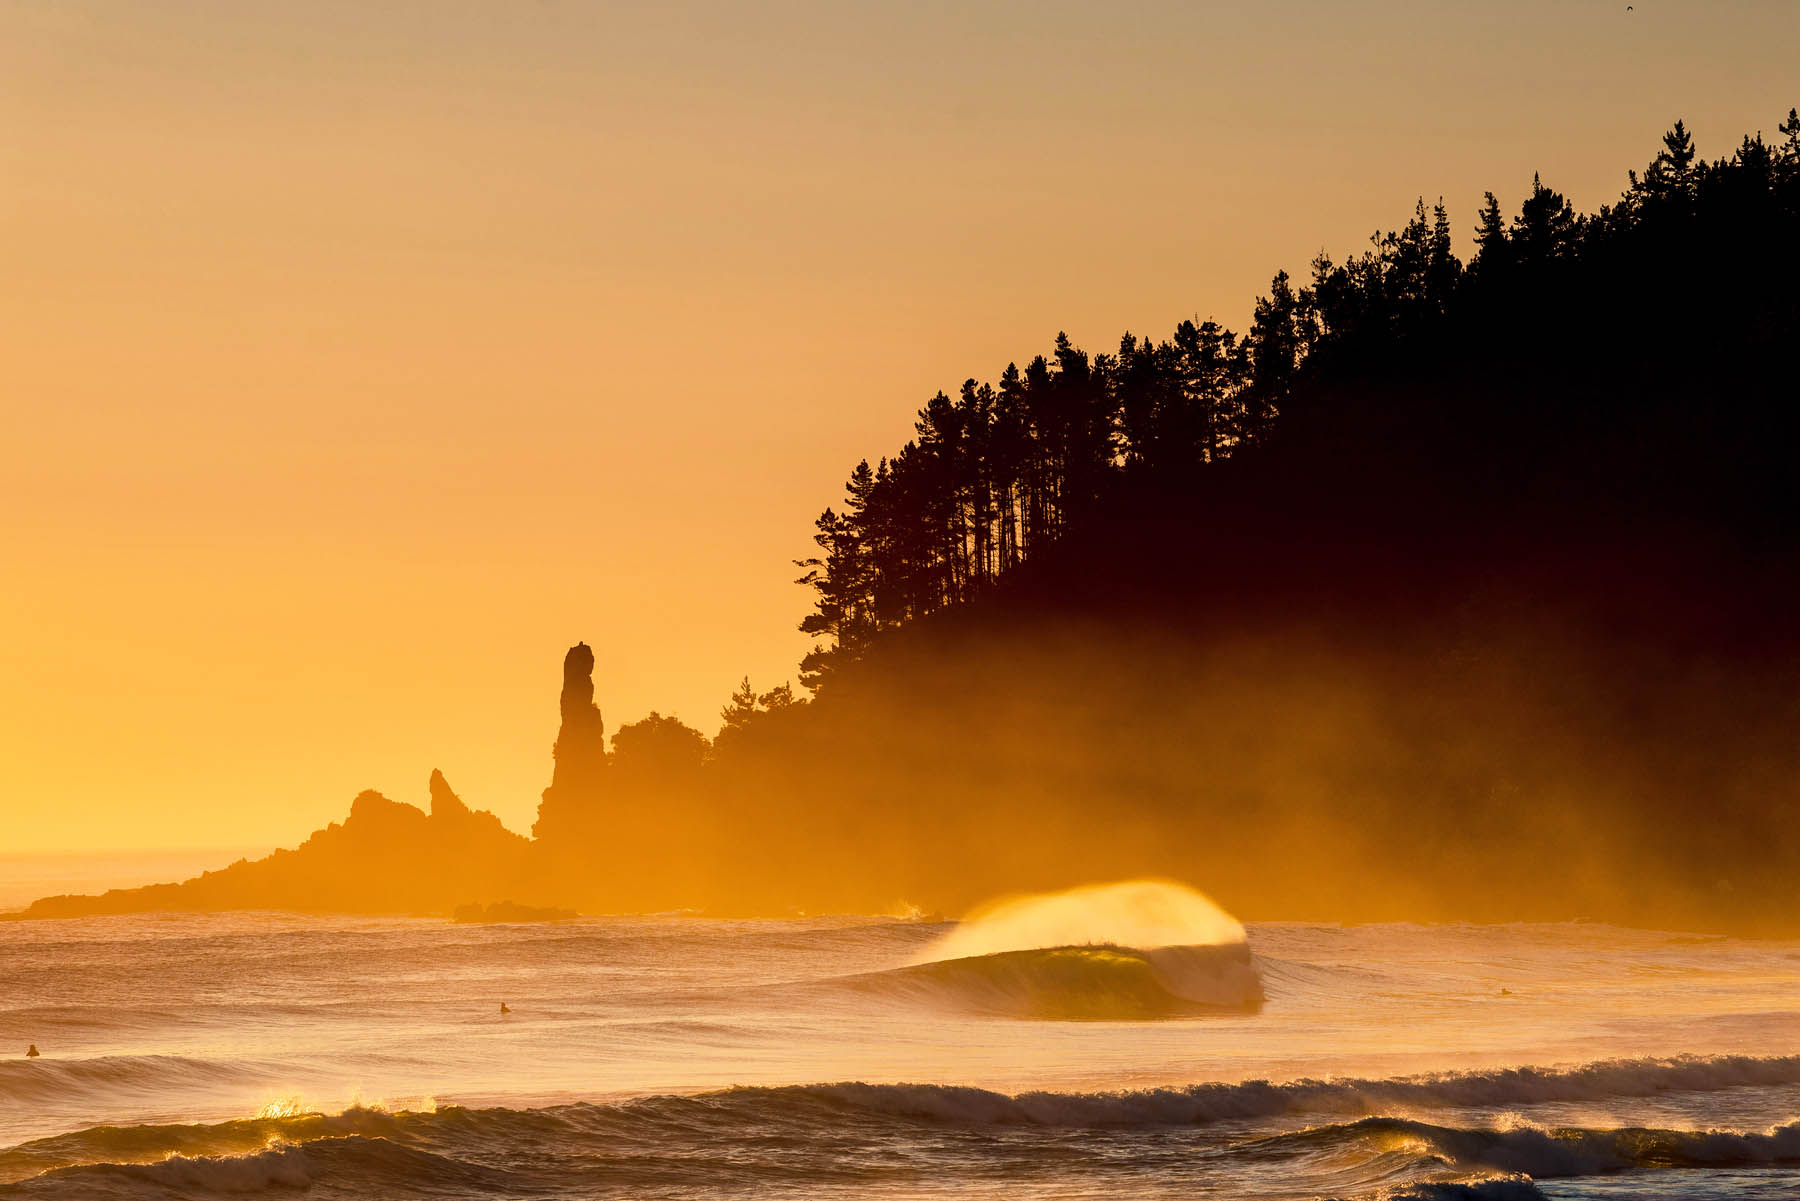
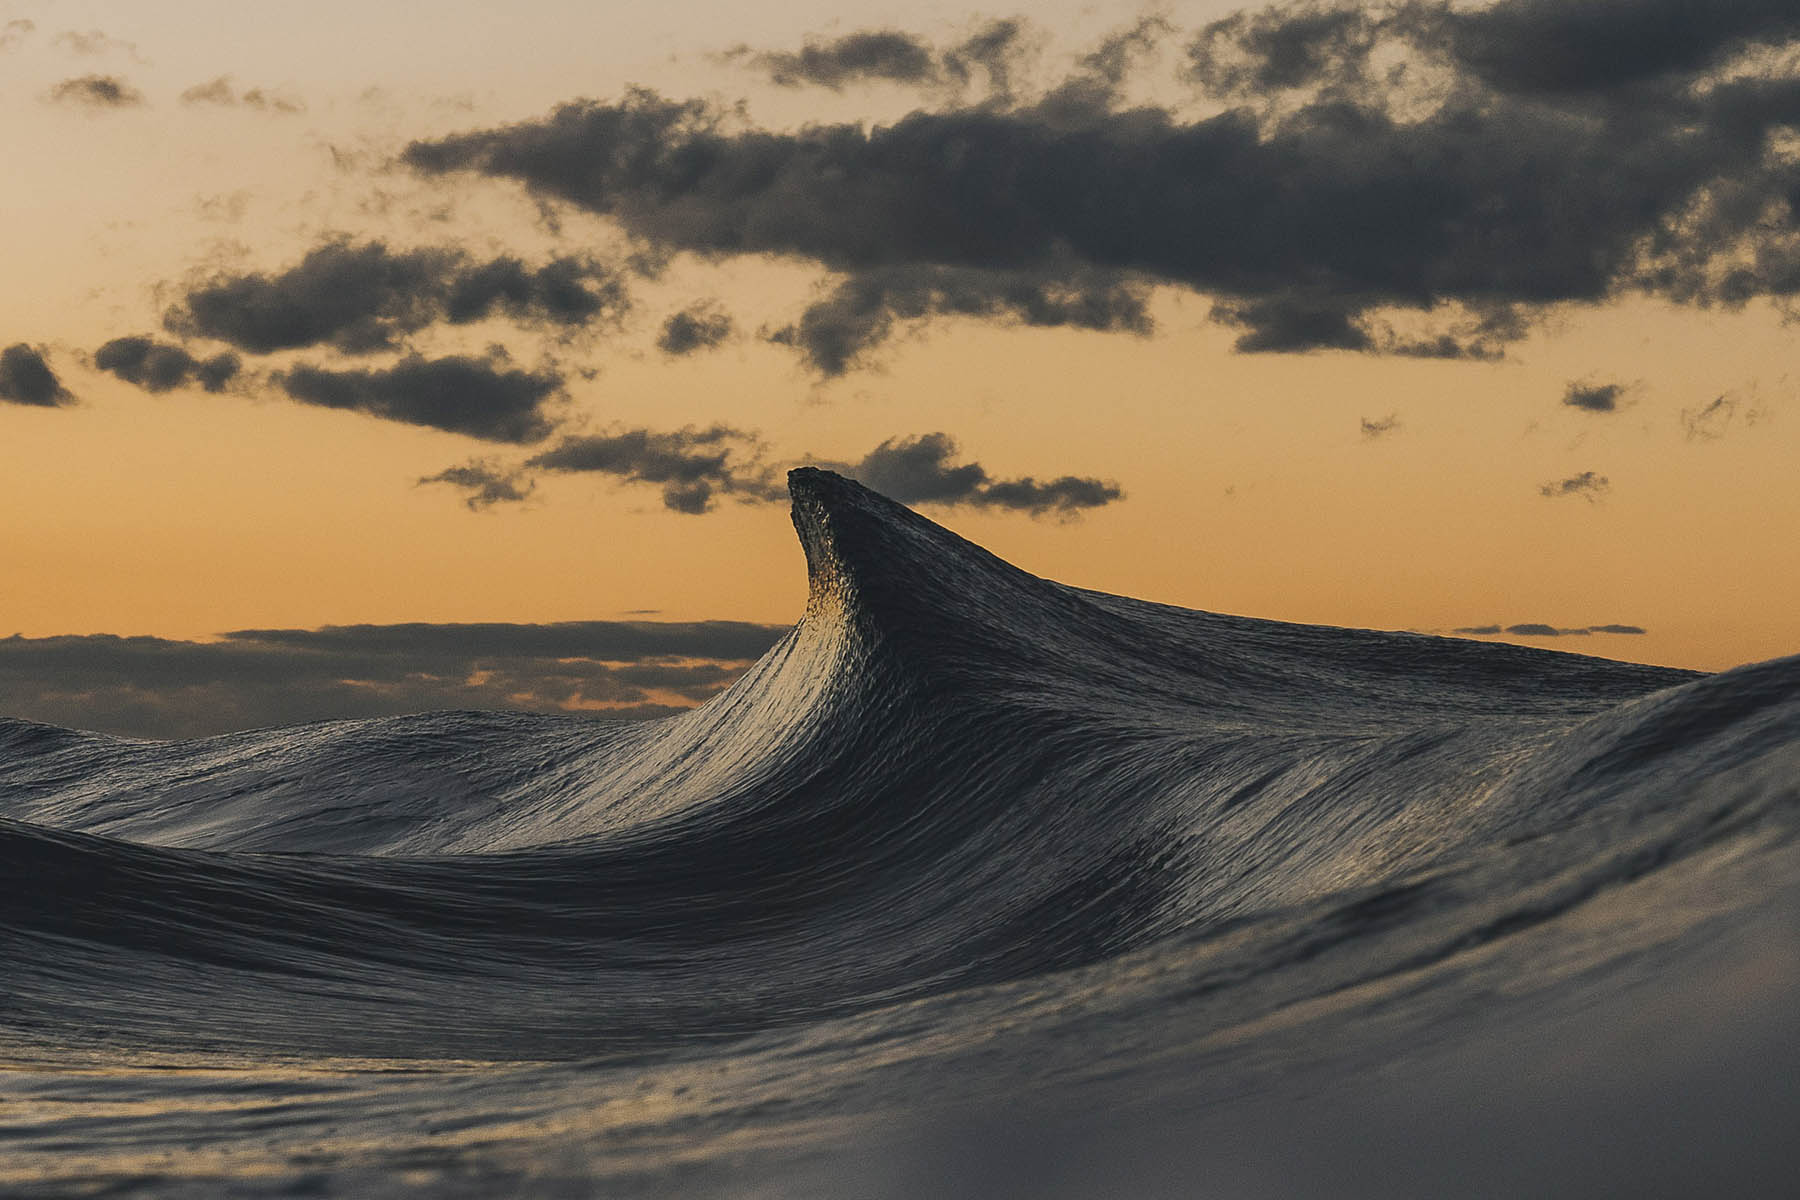
TRAVEL & LIFESTYLE – SUNSET PRESET
Drag the slider side to side to see before and after. There are different intensity versions of this preset for editing versatility.

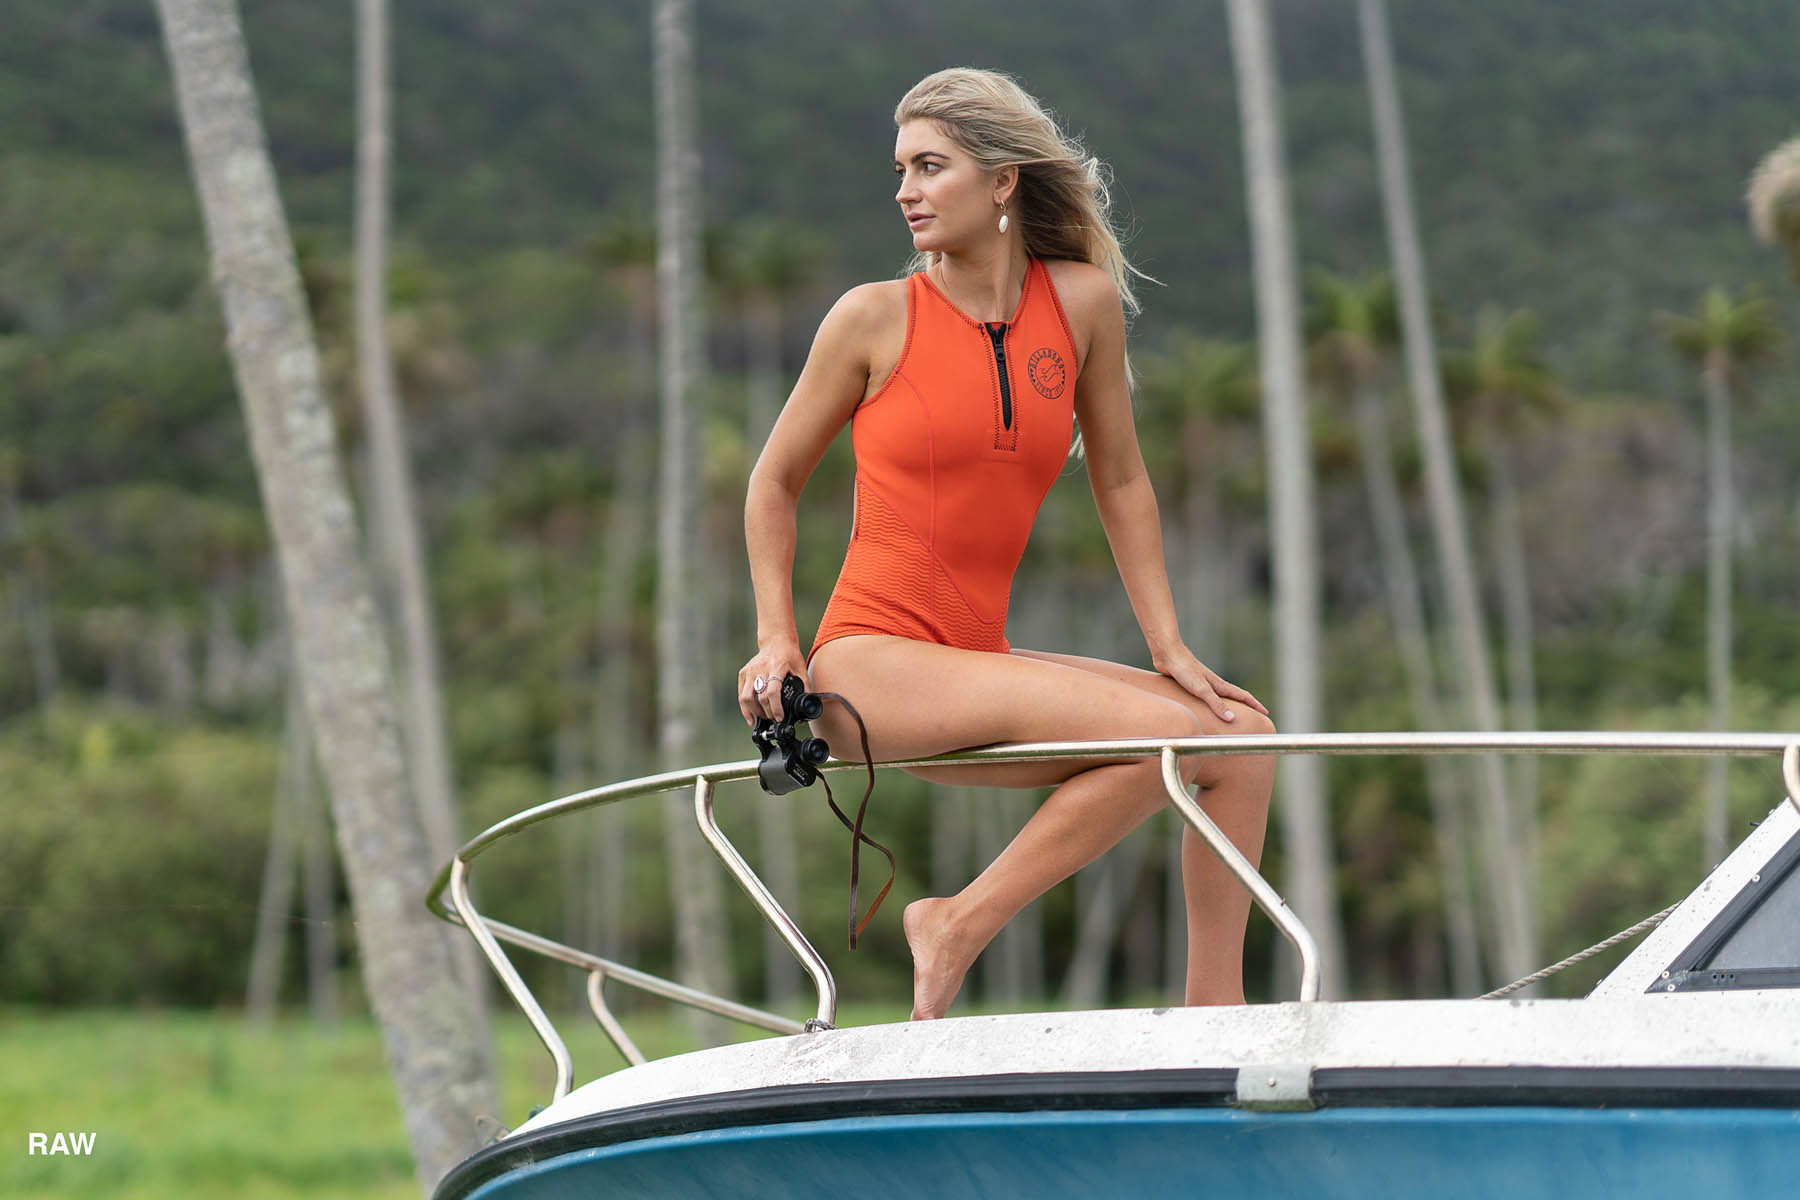
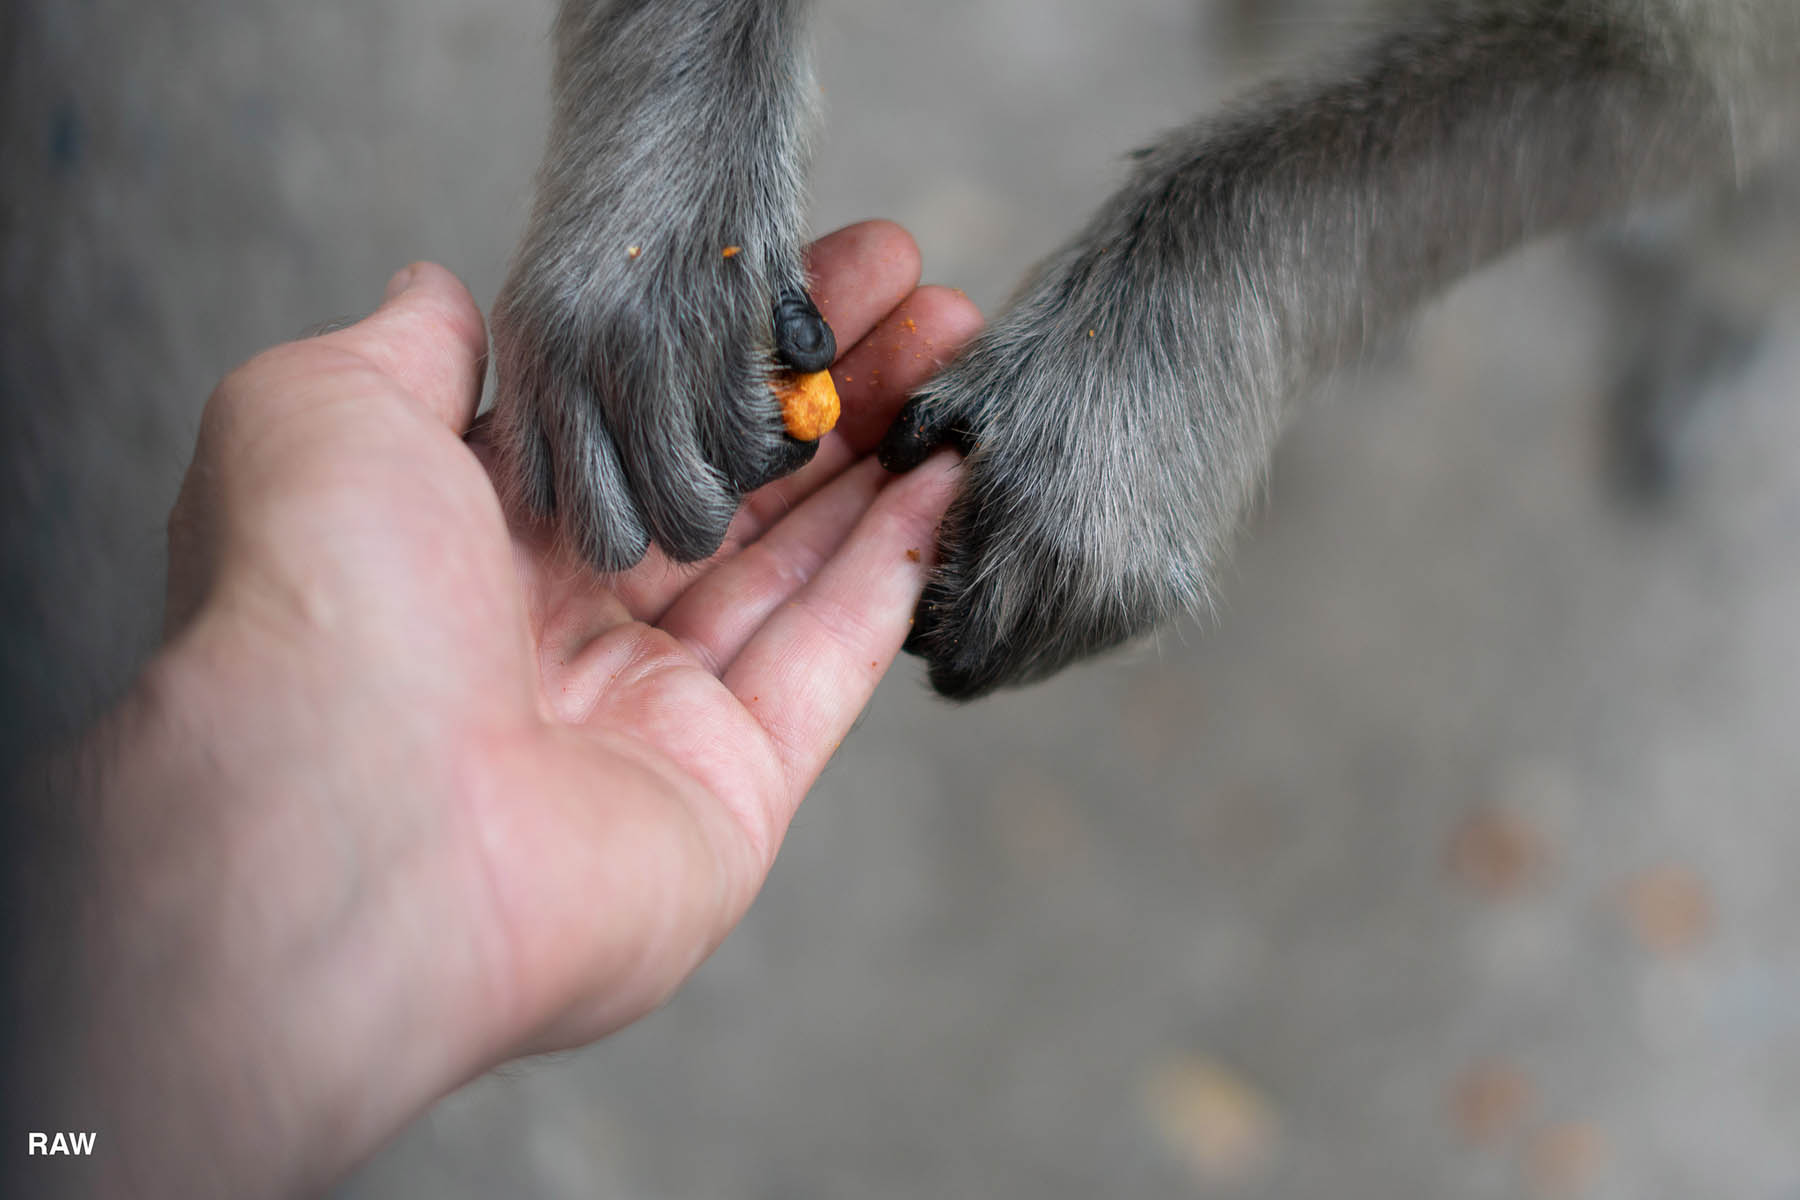
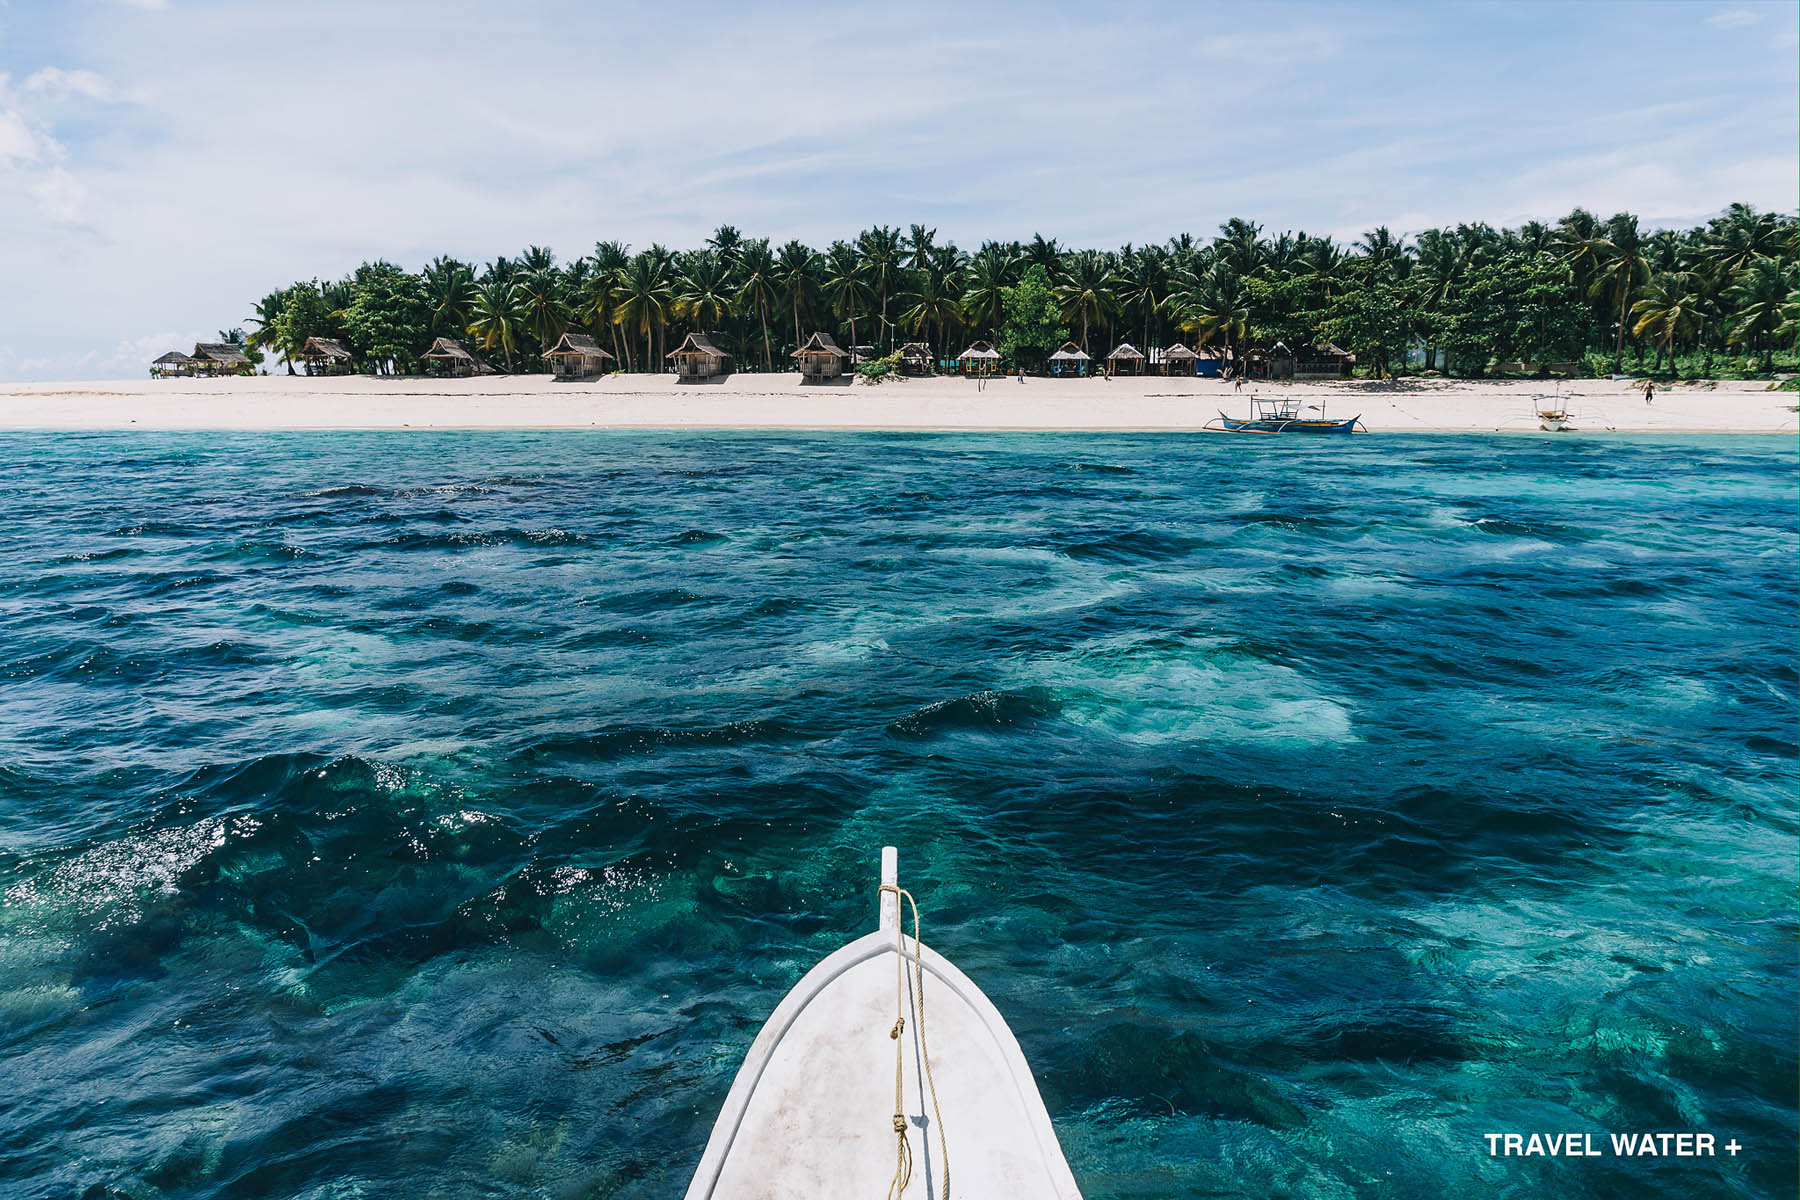
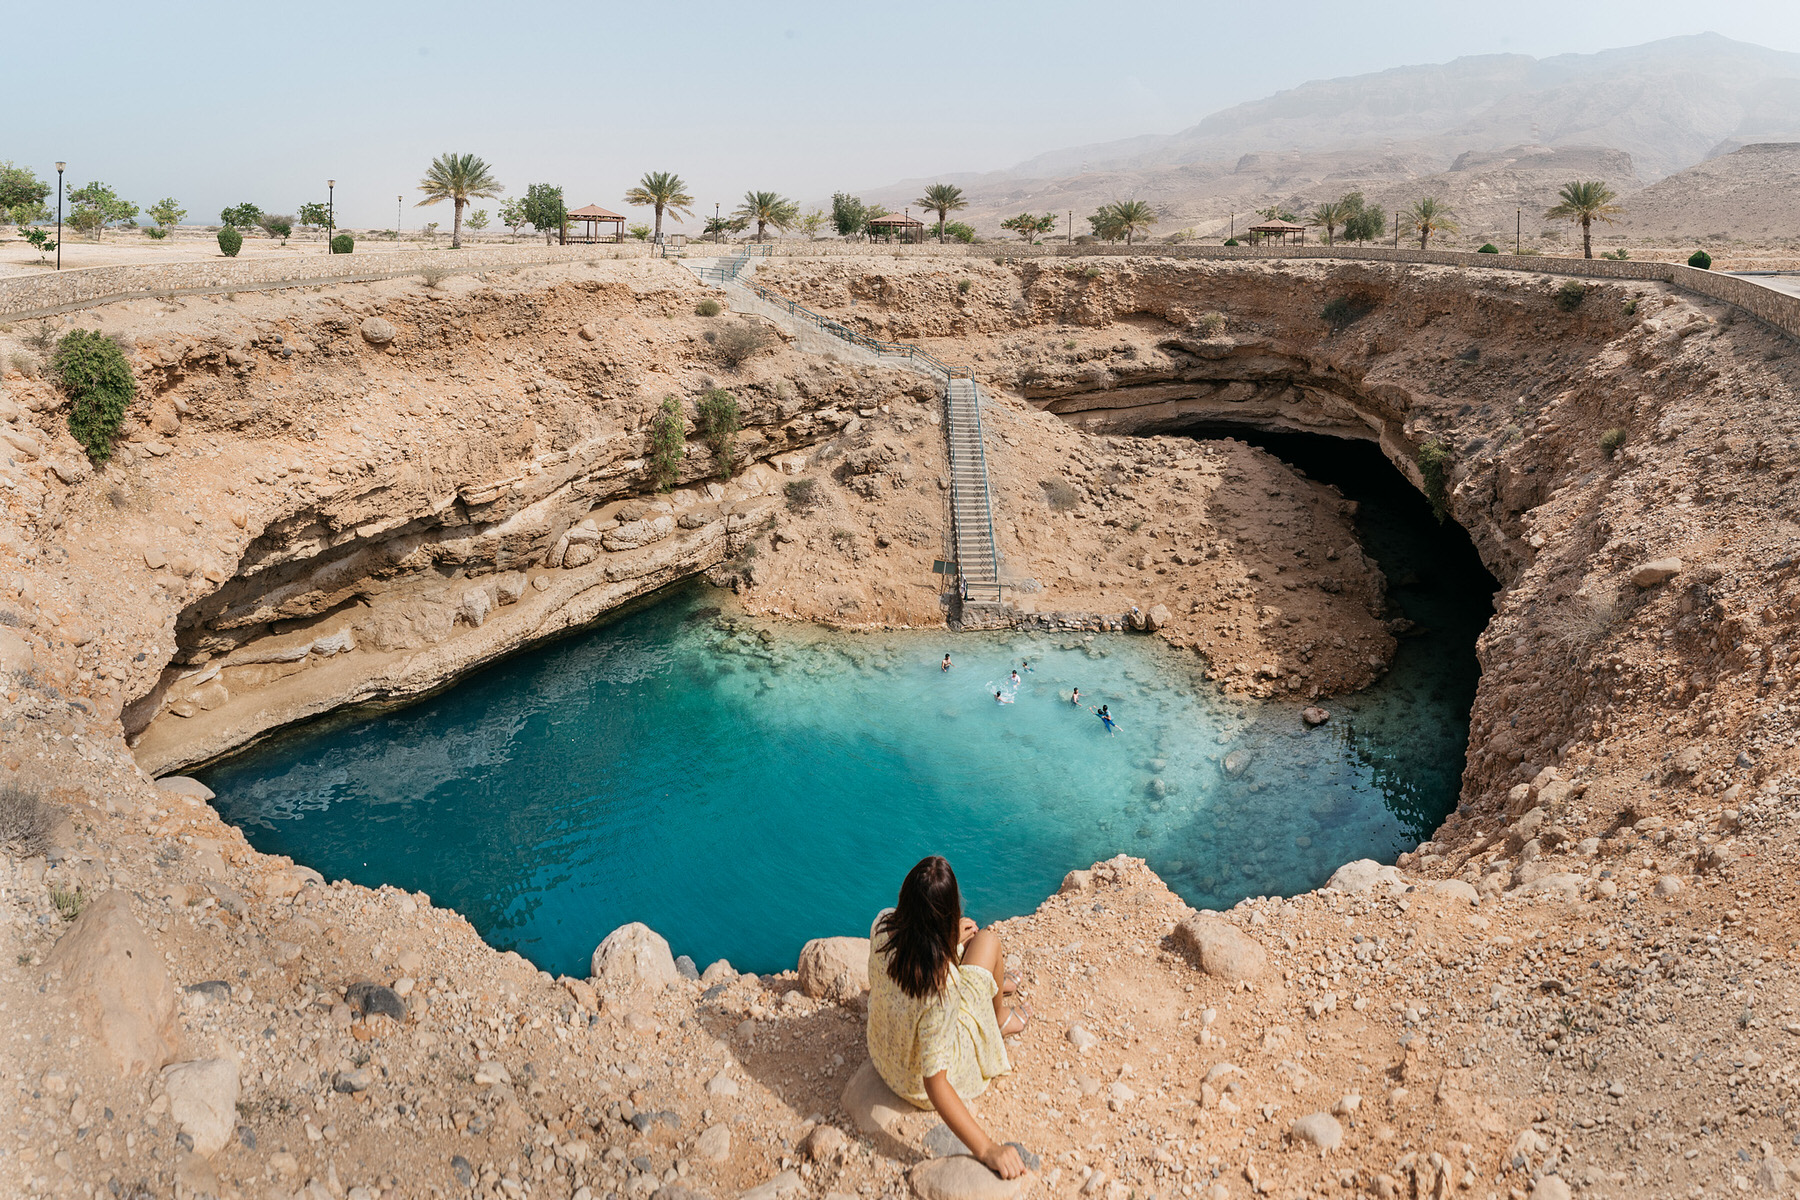
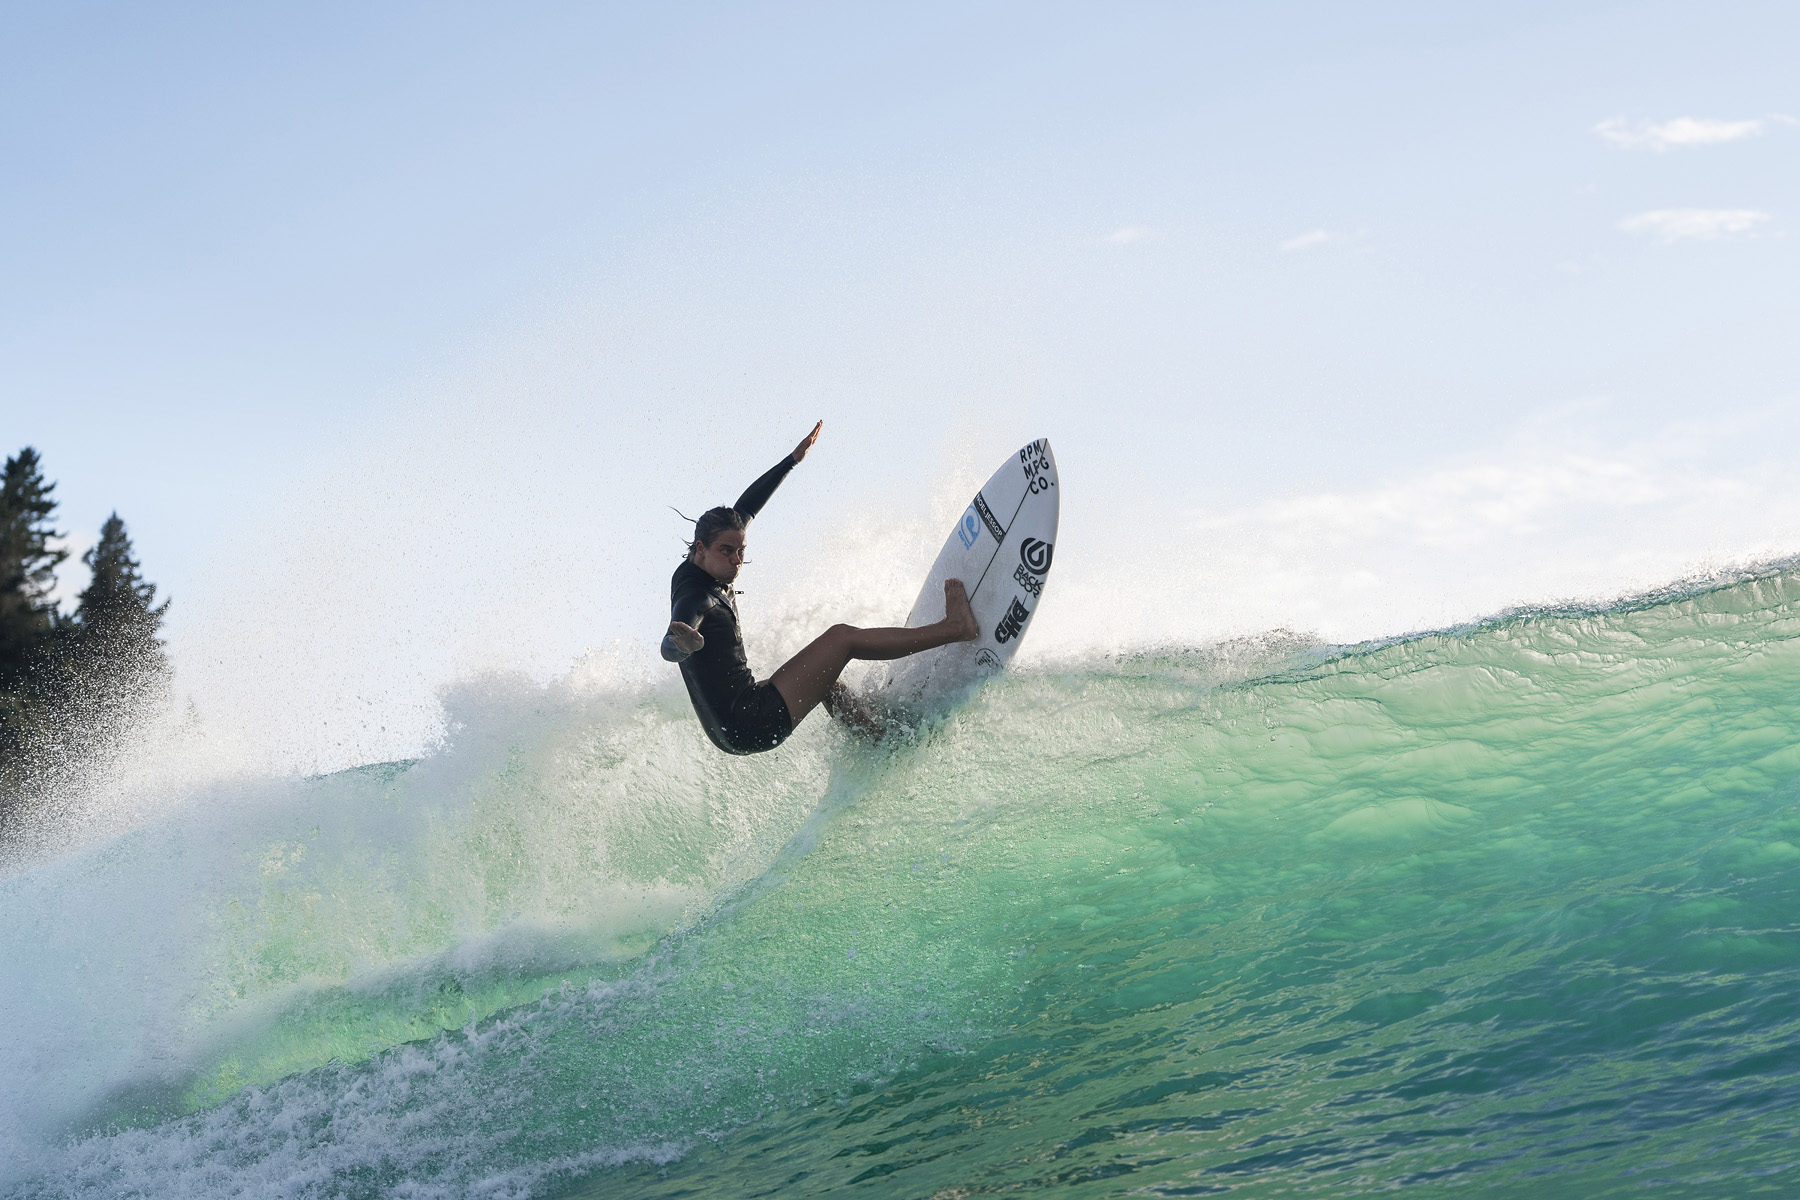
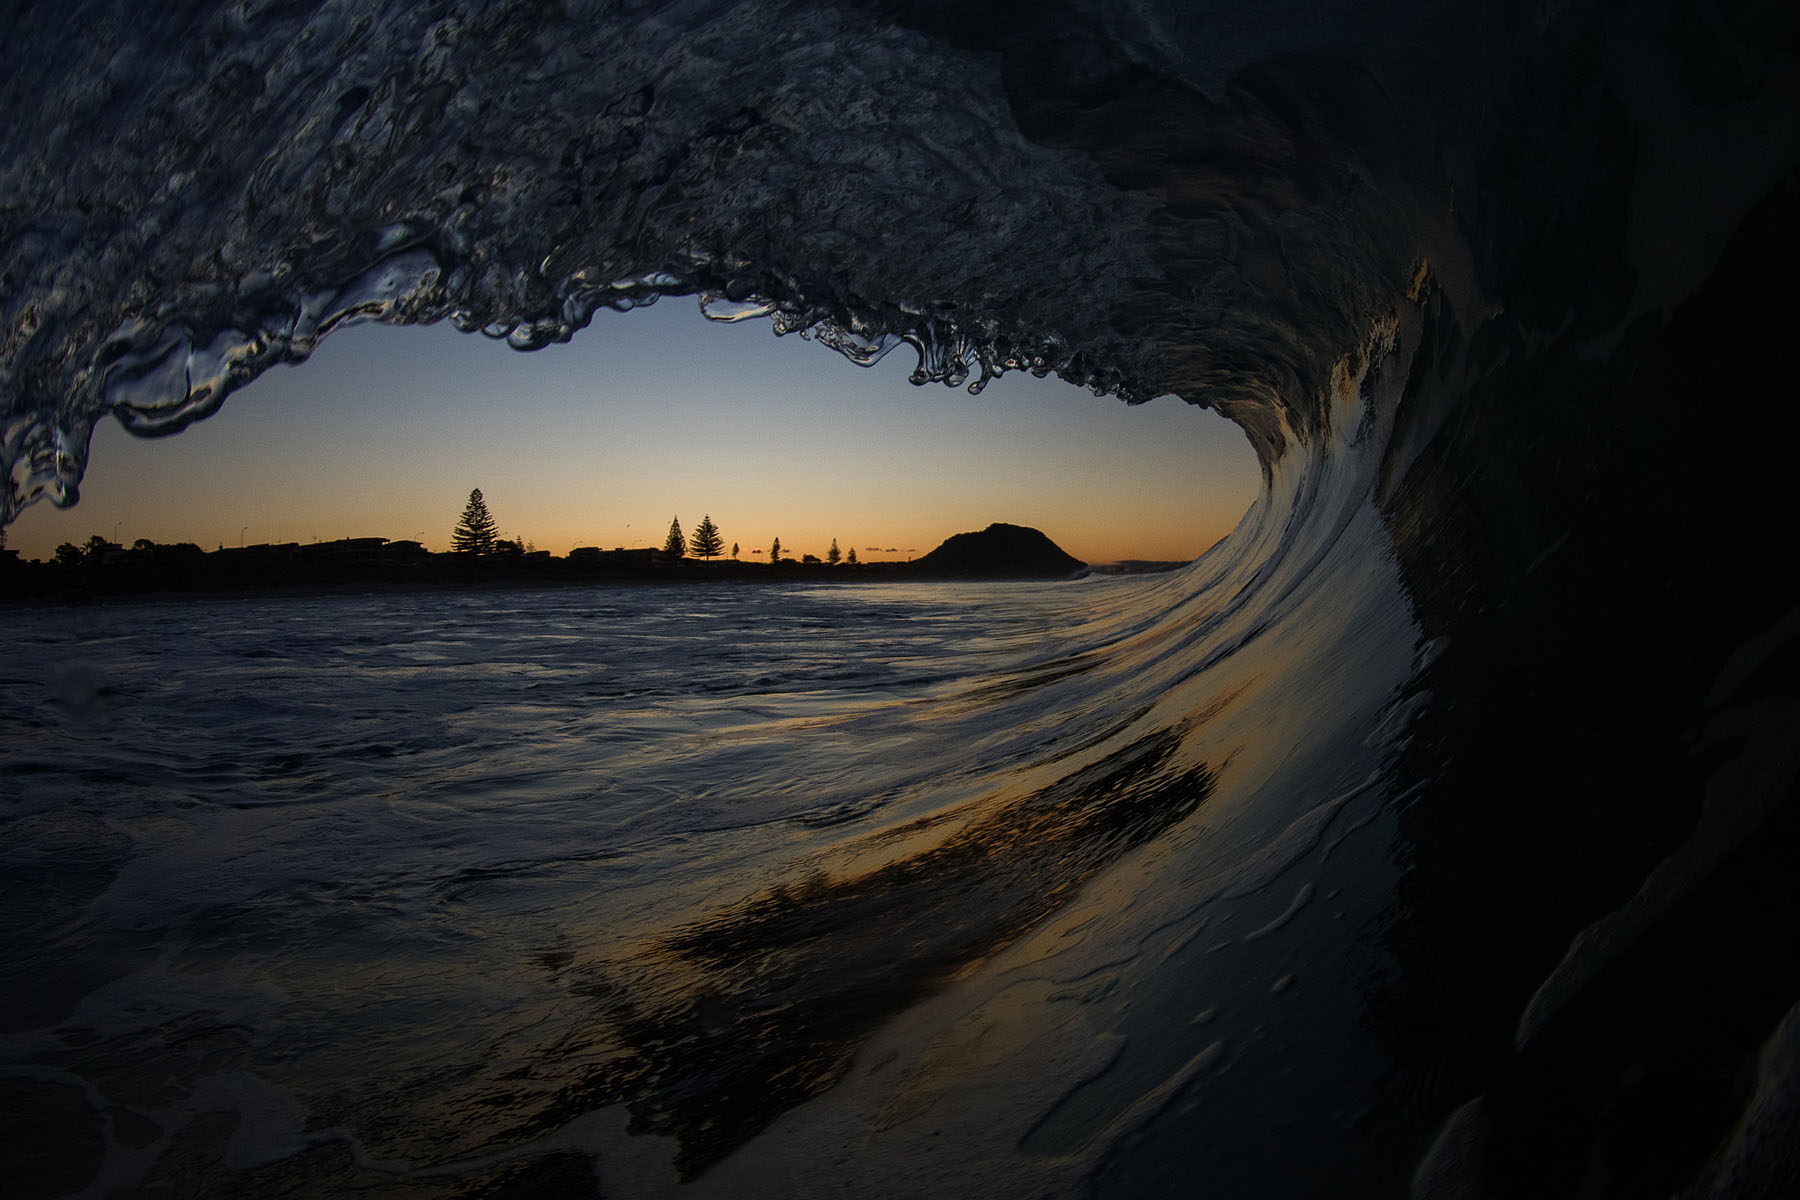
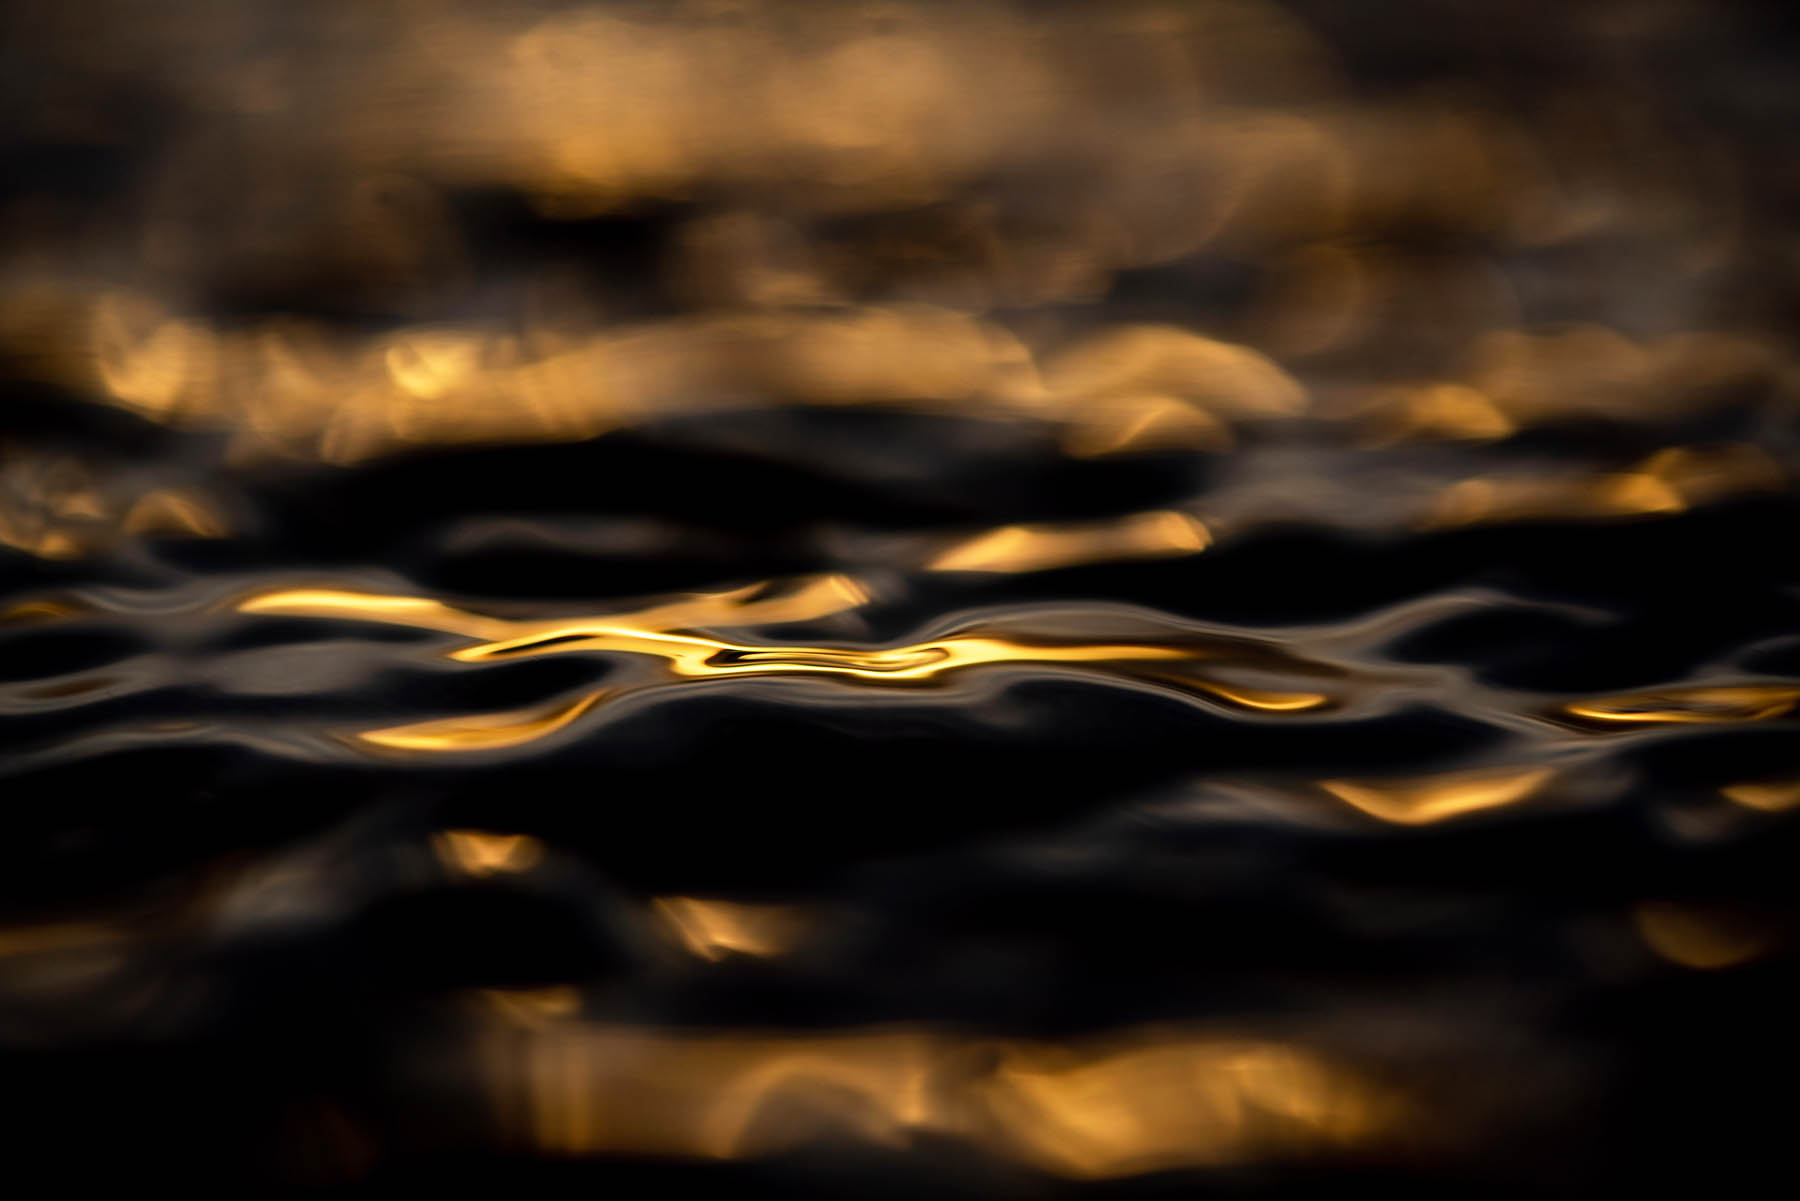
TRAVEL & LIFESTYLE – WATER PRESET
Drag the slider side to side to see before and after. There are different intensity versions of this preset for editing versatility.

[ DESKTOP LIGHTROOM PRESETS ]
[ MOBILE LIGHTROOM PRESETS ]
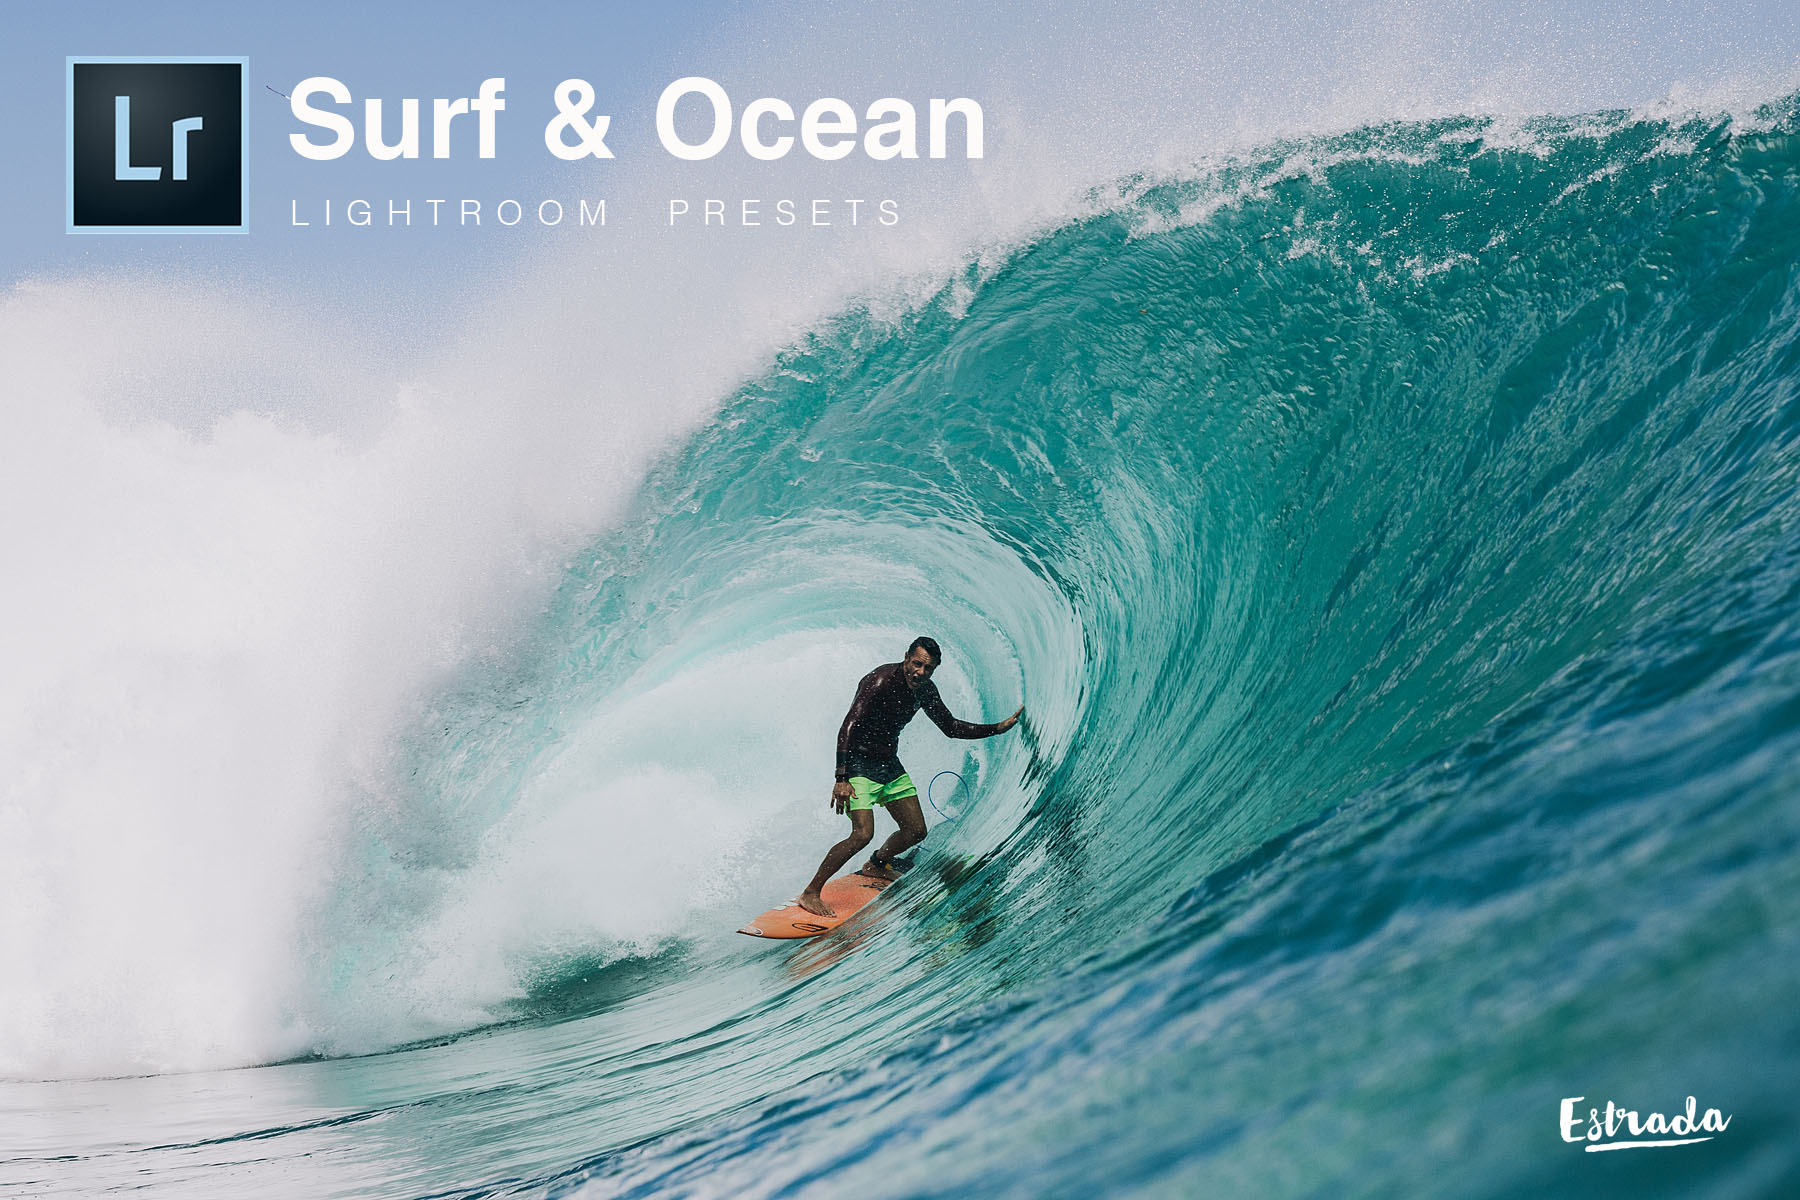
OTHER PRESET PACKS


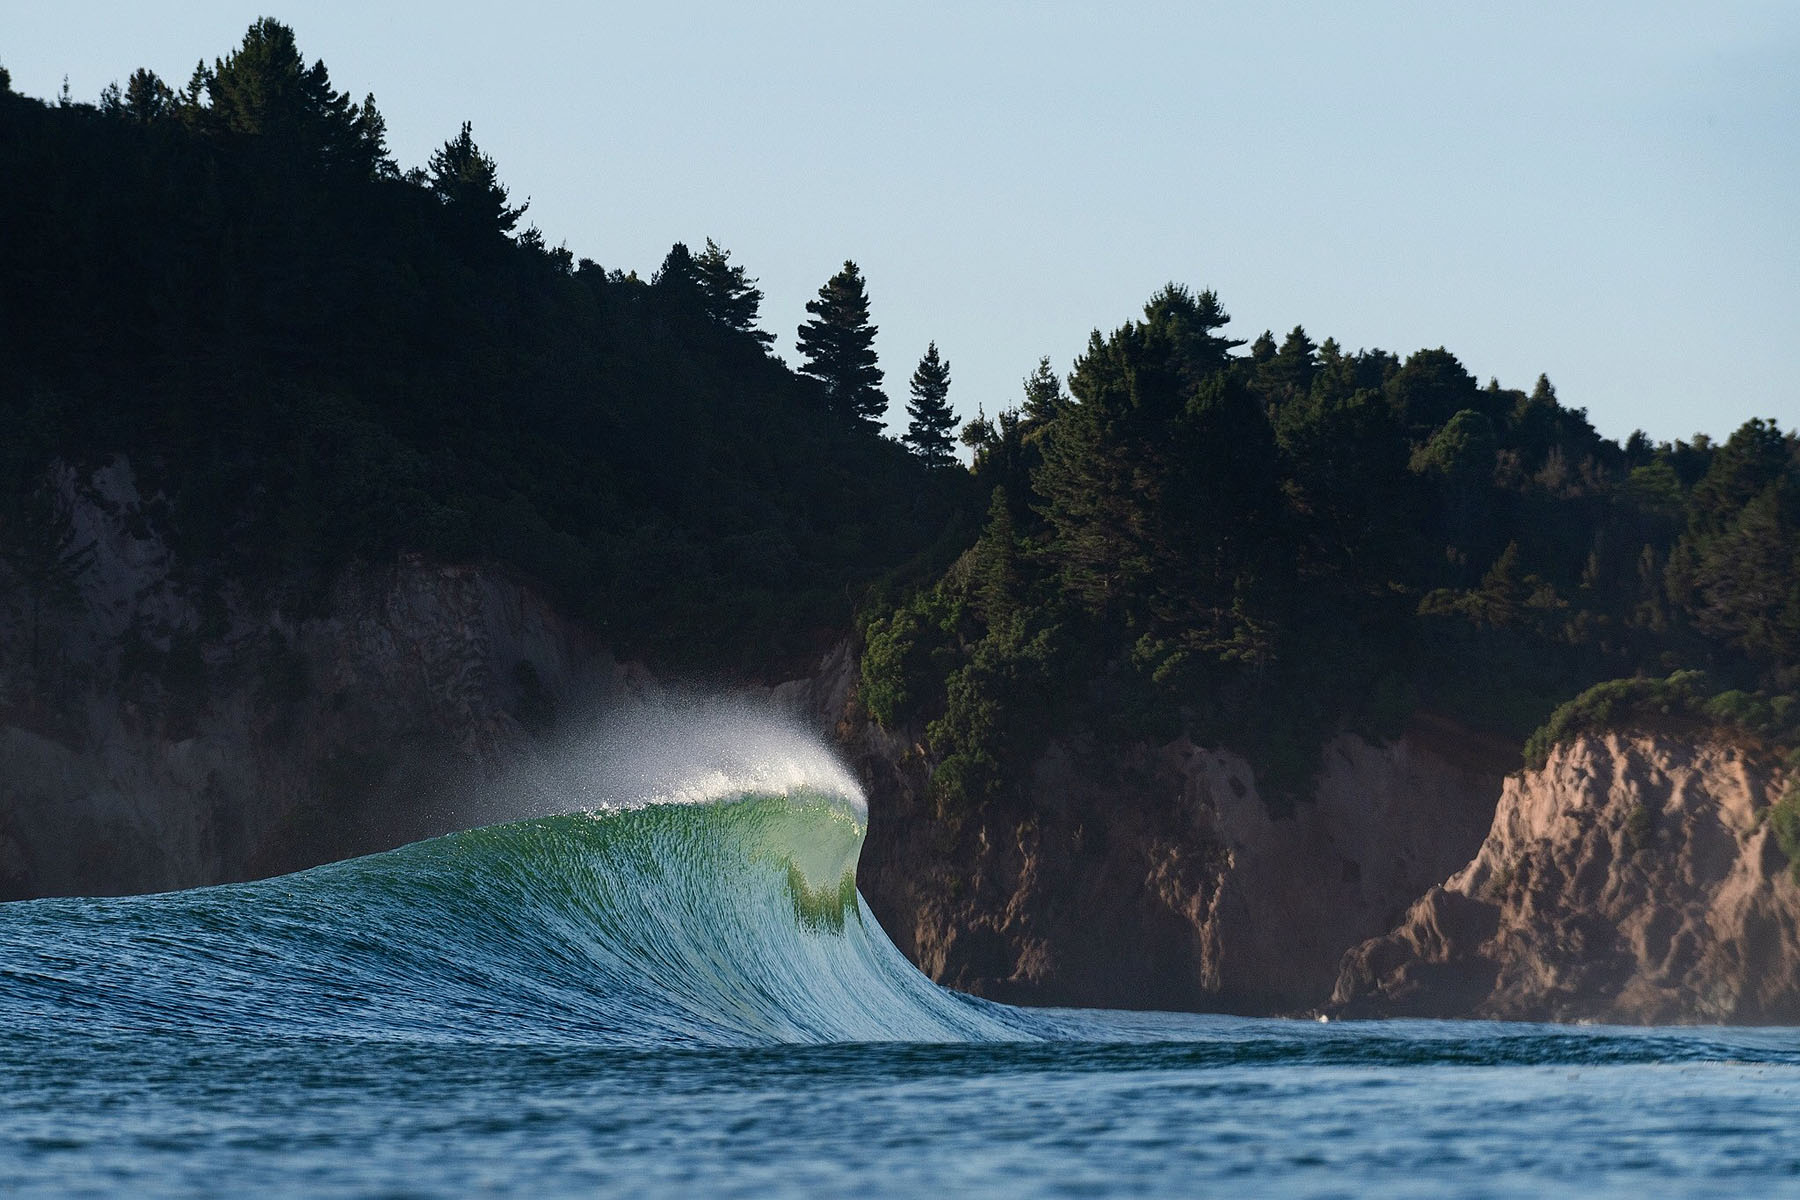


 Sony A7RIII + 100-400mm f/4.5-5.6 full image

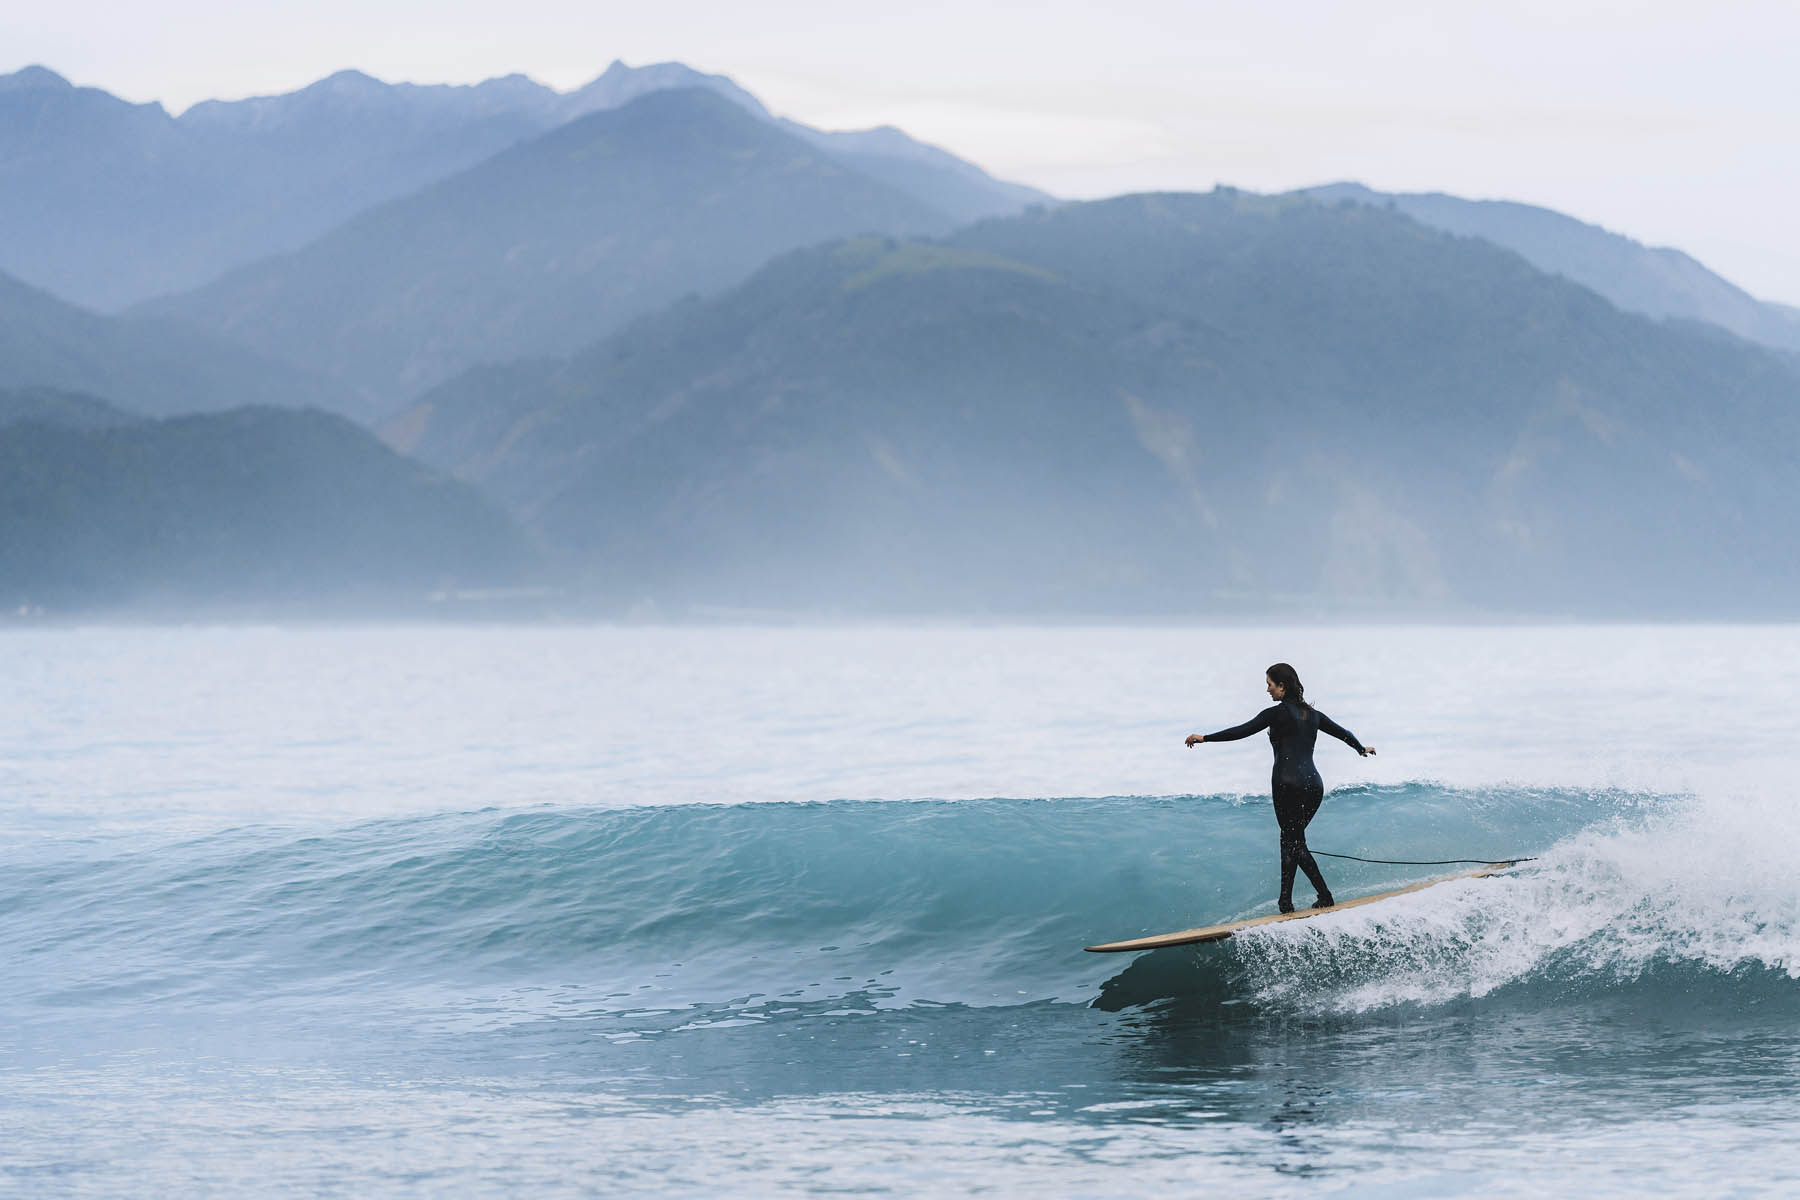
 Paige Hareb > Sony A7RV + 70-200mm f/2.8 MkII in Aquatech Edge housing
 Sony A7IV + Sony 100-400mm f/4.5-5.6


 Sony RX-100 VI
 Sony A7RIII + Sony 12-24mm f/4.0


 Sony A7IV + Sony 70-200mm f/2.8 GM MkII
 Sony A9 + Sony 100-400mm f/4.5-5.6


 Sony A7RIII + Sony 24mm f/1.4

 Sony A7IV + Sony 50mm f/1.2 GM in Aquatech Edge Housing
 Sony A6500 + 55mm f/1.8
 Sony A7IV + Sony 85mm f/1.4


Leave a Reply